Ombre Vs Balayage: 35 Things To Know Before You Choose

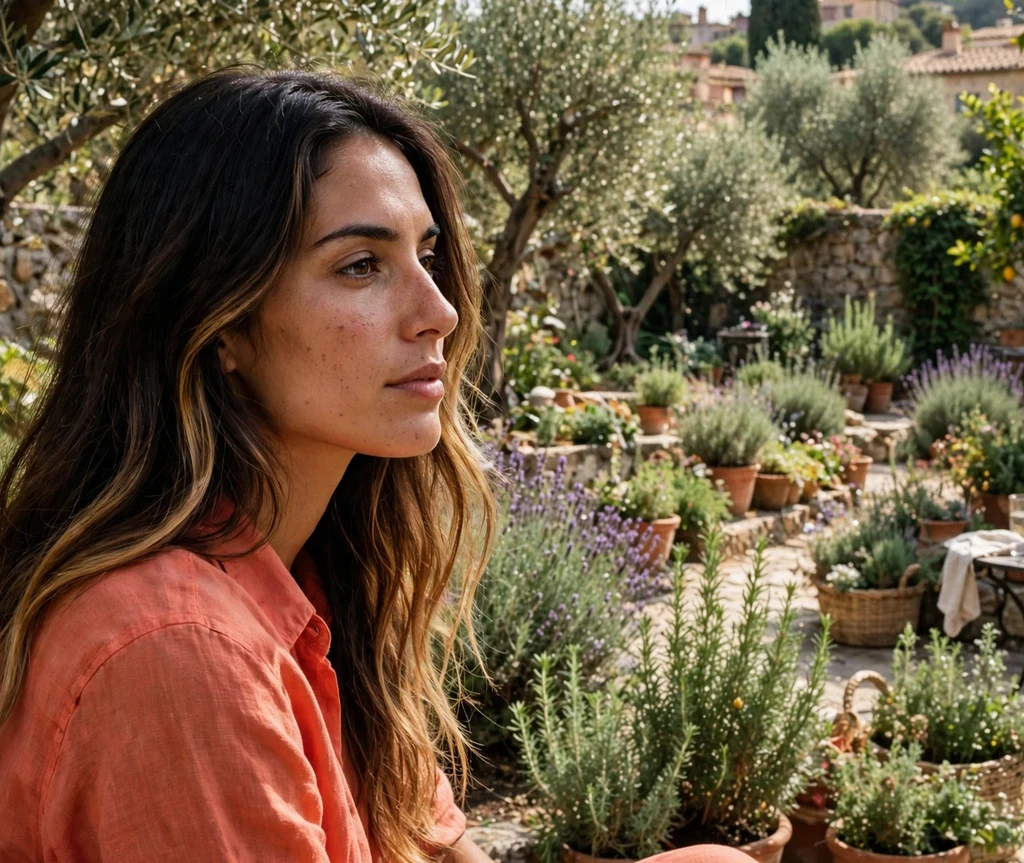
Ombre and balayage are the two most requested color techniques in salons today, and they are easy to confuse — both create that gorgeous darker-to-lighter effect. But they are not the same thing at all. Ombre is a look: a gradient that moves from darker roots to lighter ends, usually with a more defined transition. Balayage is a technique: color hand-painted onto the hair in sweeping strokes for a soft, sun-kissed, dimensional finish.
Choosing between them comes down to your hair type, your budget, how much maintenance you want, and the exact finish you are dreaming of. We have broken down everything you need to know into 35 clear points — what each technique is, how much it costs, who it suits best, how to maintain it, and which one wins for your specific hair goals. By the end, you will know exactly what to ask for at your next salon appointment.
1. What Is Ombre?
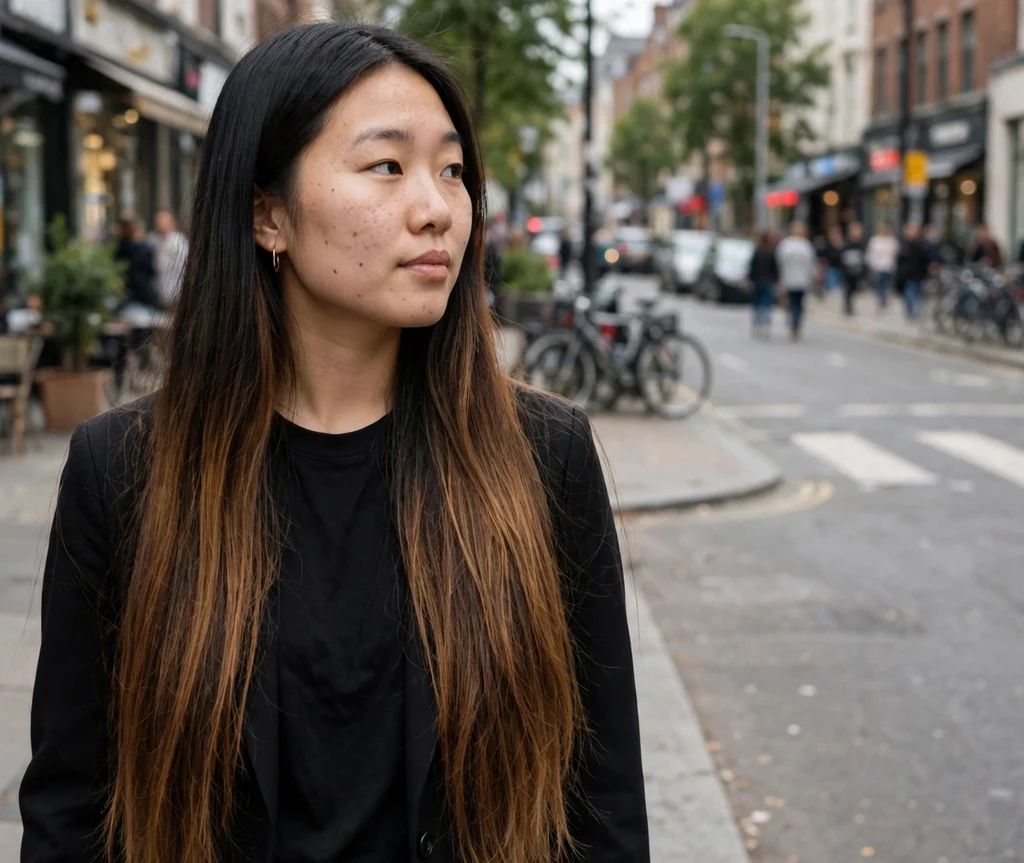
Ombre (from the French word for “shadow”) is a coloring effect where the hair gradually transitions from a darker shade at the roots to a lighter shade at the ends. The classic ombre has a fairly visible horizontal transition point, usually starting around the mid-lengths, giving that striking two-tone gradient look.
Ombre works on almost any hair color combination — dark brown to caramel, black to honey blonde, or even natural to fashion colors. Because the roots stay close to your natural shade, regrowth is forgiving, which makes ombre one of the most low-maintenance color looks you can wear.
2. What Is Balayage?
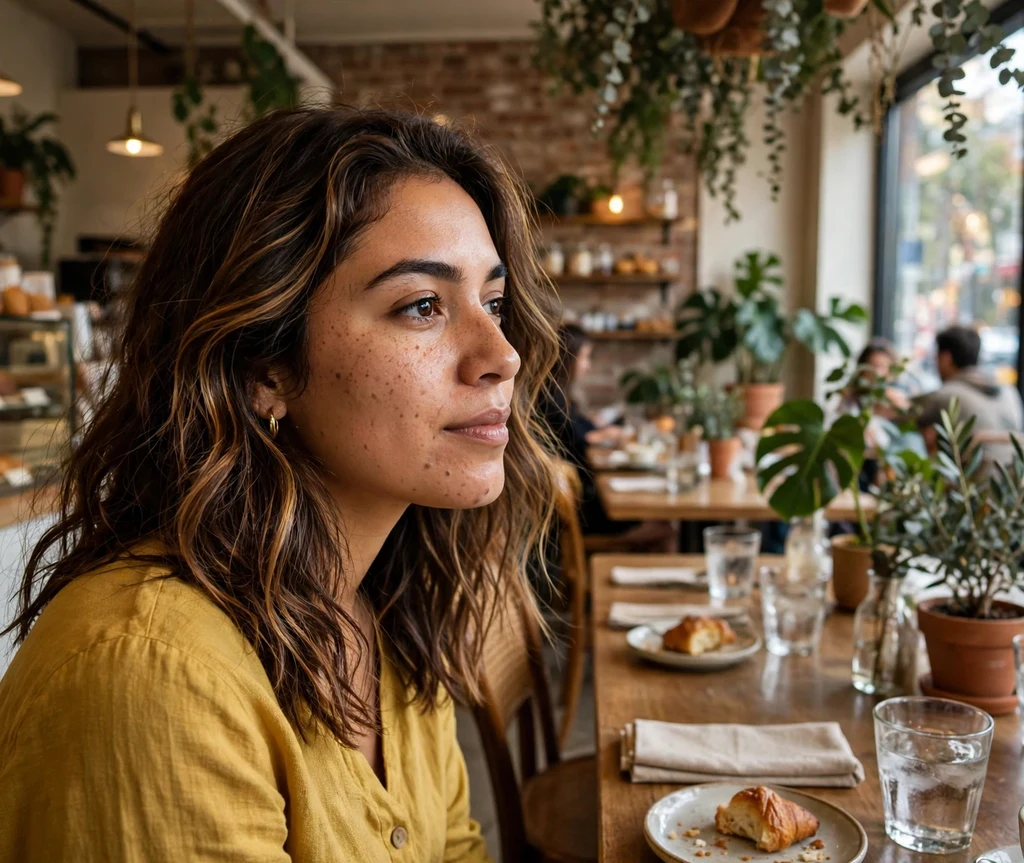
Balayage (French for “sweeping”) is a freehand painting technique where the colorist applies lightener or color directly onto the surface of the hair in sweeping, feathered strokes. There are no foils, no caps, and no harsh lines — just soft, blended ribbons of lighter color that mimic how the sun would naturally lighten your hair.
The result is dimensional, natural-looking color with the brightest pieces typically around the face and toward the ends. Balayage can be subtle or bold, and it grows out beautifully because there is no obvious line of demarcation at the roots.
3. The Core Difference: Application Technique
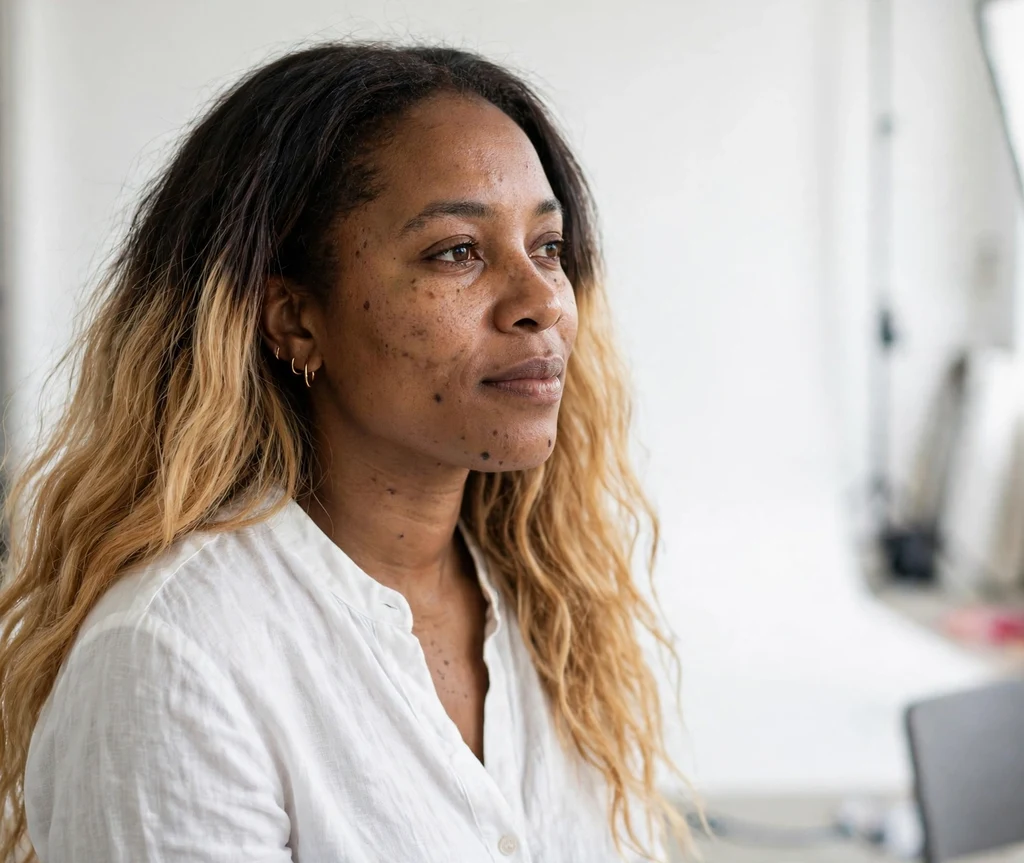
The biggest difference between ombre and balayage is how the color gets onto your hair. Ombre is usually created with backcombing or teasing at the transition point, then applying lightener from the mid-lengths down — often processed in foils for a stronger lift. The goal is a vertical gradient, darker on top and lighter at the bottom.
Balayage, by contrast, is painted on freehand, strand by strand, with the colorist controlling exactly where each stroke lands. This artistic approach means no two balayage applications are identical, and the placement can be customized to your haircut, face shape, and parting.
4. The Core Difference: The Final Look
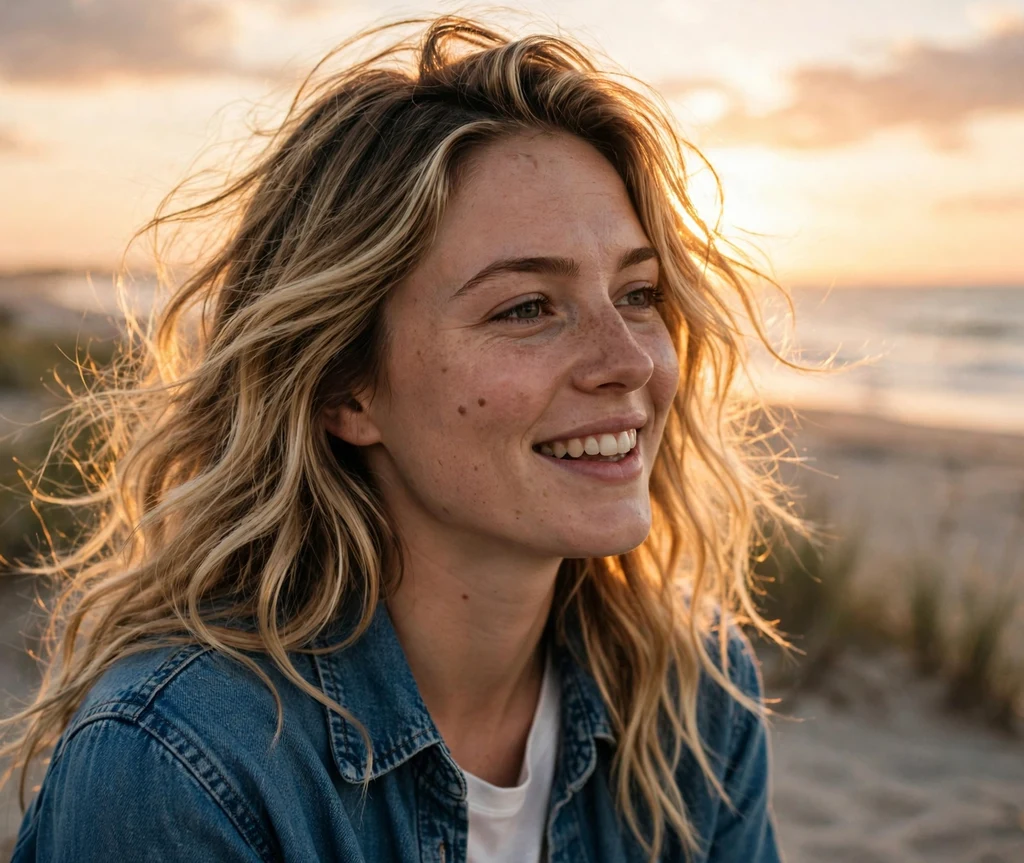
Look closely at the finished result and you will see the difference immediately. Ombre gives you a gradient: the top half of your hair stays relatively dark and uniform, then melts into a lighter shade toward the ends. It is bold, graphic, and high-contrast — a statement look.
Balayage gives you dimension throughout: lighter pieces woven from roots to ends, brightest at the face and tips, with your natural base color still visible in between. It reads as natural, sun-kissed, and expensive — the “your hair but better” of the color world.
5. Cost Comparison: Ombre
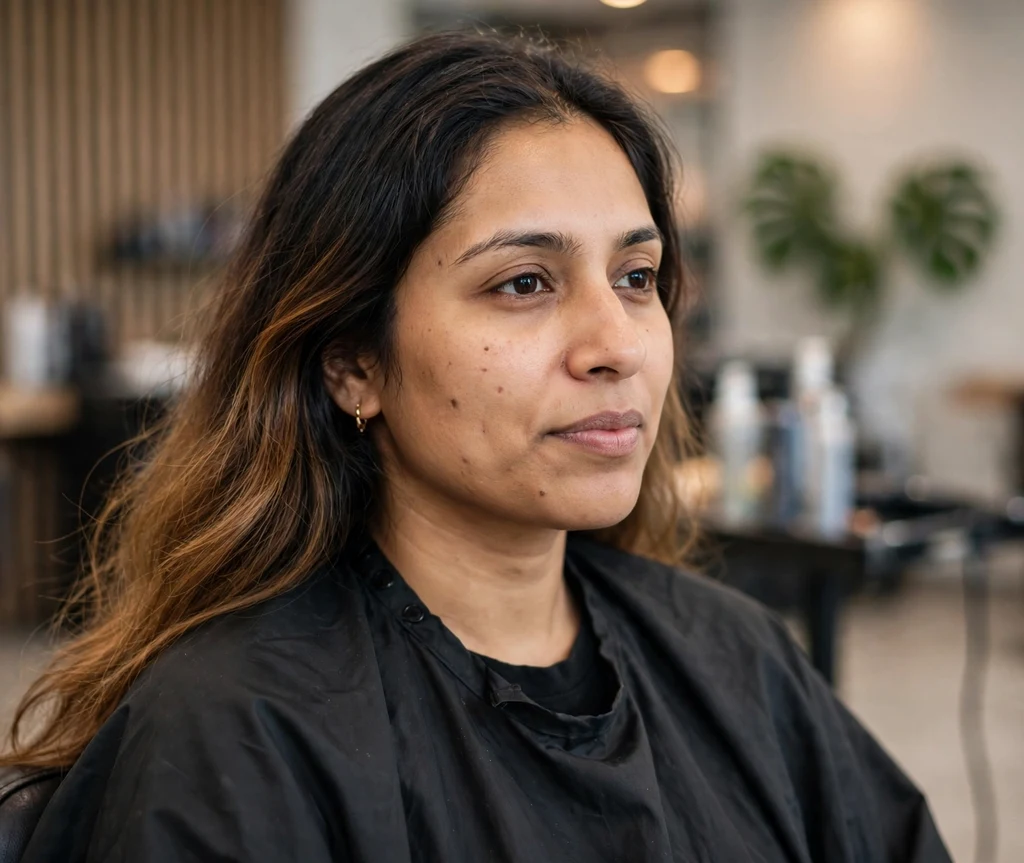
Ombre is generally the more affordable of the two, typically ranging from $100 to $250 depending on your location, hair length, and salon tier. Because the technique is more straightforward — lightener applied to the lower half of the hair, often in foils — it takes less time in the chair, usually two to three hours.
Keep in mind that going dramatically lighter may require more than one session, especially on very dark or previously colored hair. Ask your stylist for a consultation first so there are no surprises on the final bill, and budget for a toner and a bond-building treatment to keep the lightened ends healthy.
See also: 21 Beautiful Short Hair Color Ideas That Are Easy To Maintain
6. Cost Comparison: Balayage
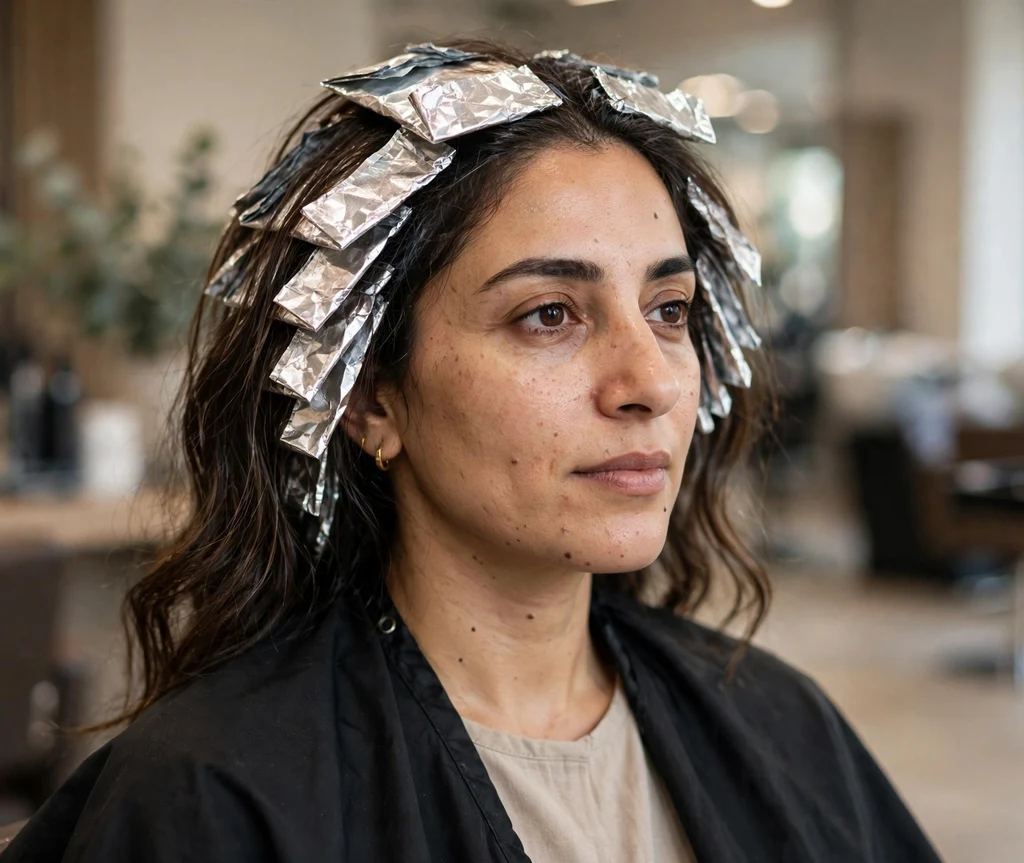
Balayage usually costs more — anywhere from $150 to $400 or higher — because it is a highly skilled, time-intensive freehand technique. A full balayage appointment can take three to five hours, and you are paying for the colorist’s artistry, custom placement, and the premium products used.
The upside is that balayage needs far fewer touch-ups, so the annual cost often evens out. Many balayage wearers only need a full application once or twice a year, with just a toner or gloss refresh in between, making it surprisingly economical over time.
7. Maintenance: Ombre
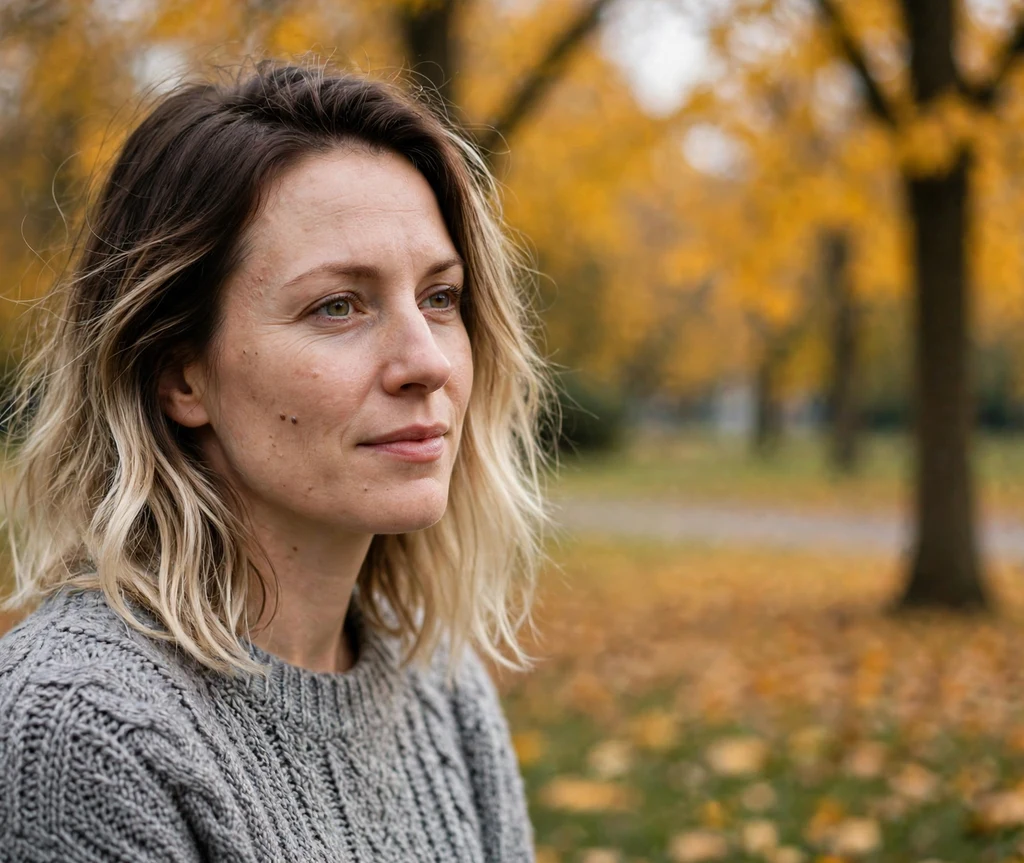
Ombre is wonderfully low-maintenance because your natural root color is left alone. As your hair grows, the gradient simply moves down — there is no harsh regrowth line to panic about. Most people refresh their ombre every three to six months, mainly to brighten the ends or adjust the tone.
Between appointments, focus on keeping the lightened ends healthy: use a sulfate-free shampoo, a weekly deep-conditioning mask, and a purple shampoo once a week if your ends are blonde. Regular trims every eight to ten weeks keep the gradient looking intentional rather than grown-out.
8. Maintenance: Balayage
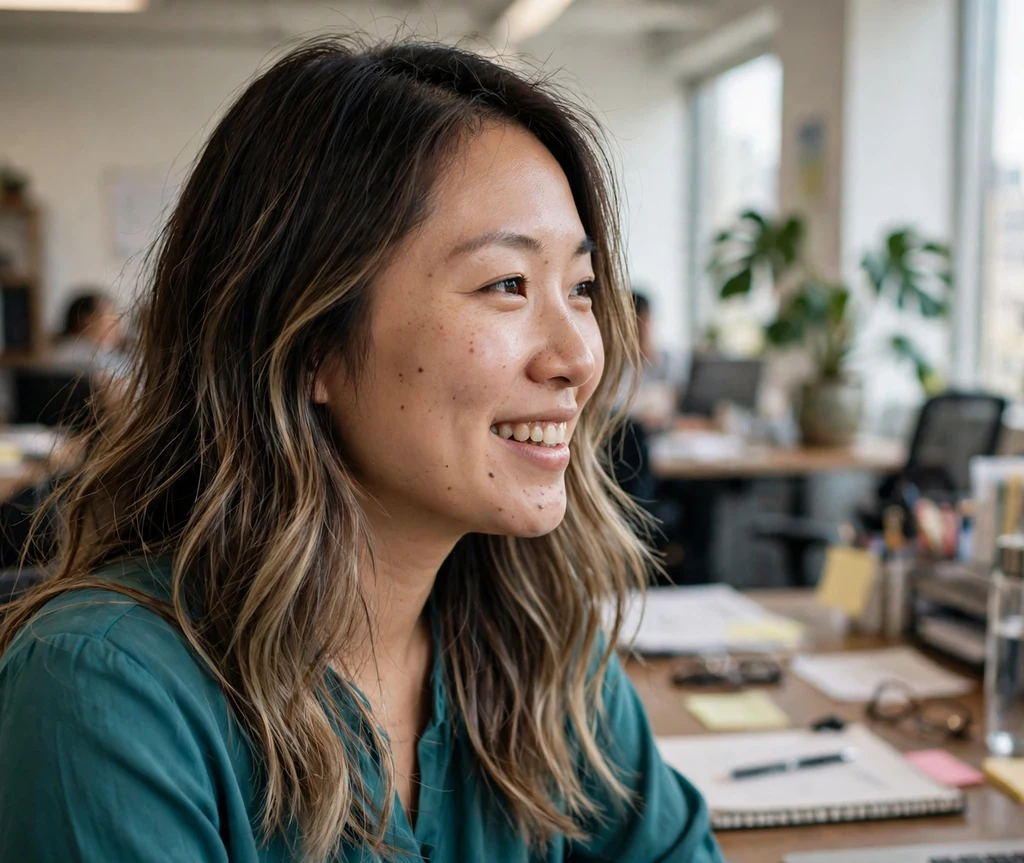
Balayage is the undisputed queen of low-maintenance color. Because the painted pieces start softly away from the scalp and blend into your natural base, regrowth is virtually invisible. Many balayage clients go four to six months — sometimes longer — between full applications.
All you need between visits is a gloss or toner refresh every eight to twelve weeks to keep the tone fresh and shiny, plus good at-home care. This makes balayage the top choice for busy schedules, growing-out phases, and anyone who dreads the salon treadmill of root touch-ups.
9. Best For Dark Hair: Ombre
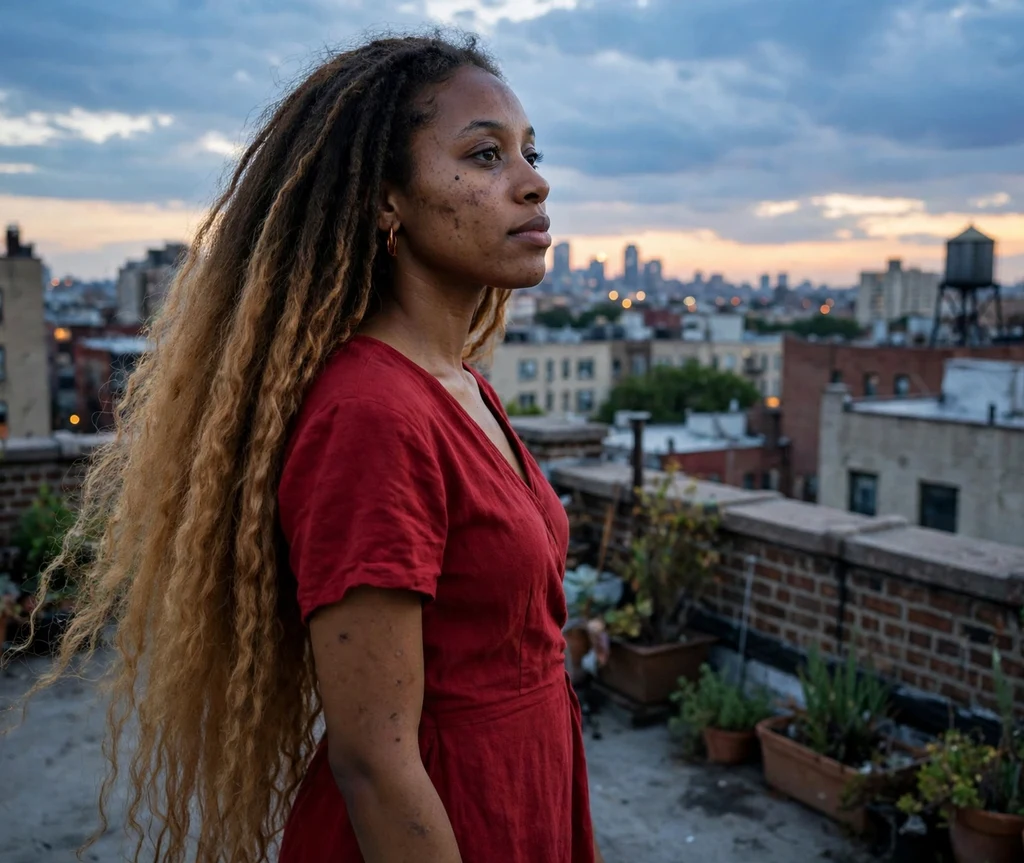
On dark hair, ombre creates a dramatic, high-impact transformation. The contrast between deep roots and honey or caramel ends is striking and gorgeous — it is the look that made ombre famous. Dark hair also lifts to warm, rich tones beautifully, giving you that expensive-looking gradient.
If your hair is very dark, expect the lightening process to take longer and possibly need two sessions to reach your target shade without damage. Ask for a bond builder during lightening, and be realistic: the lighter you want the ends, the more care the process requires.
10. Best For Dark Hair: Balayage
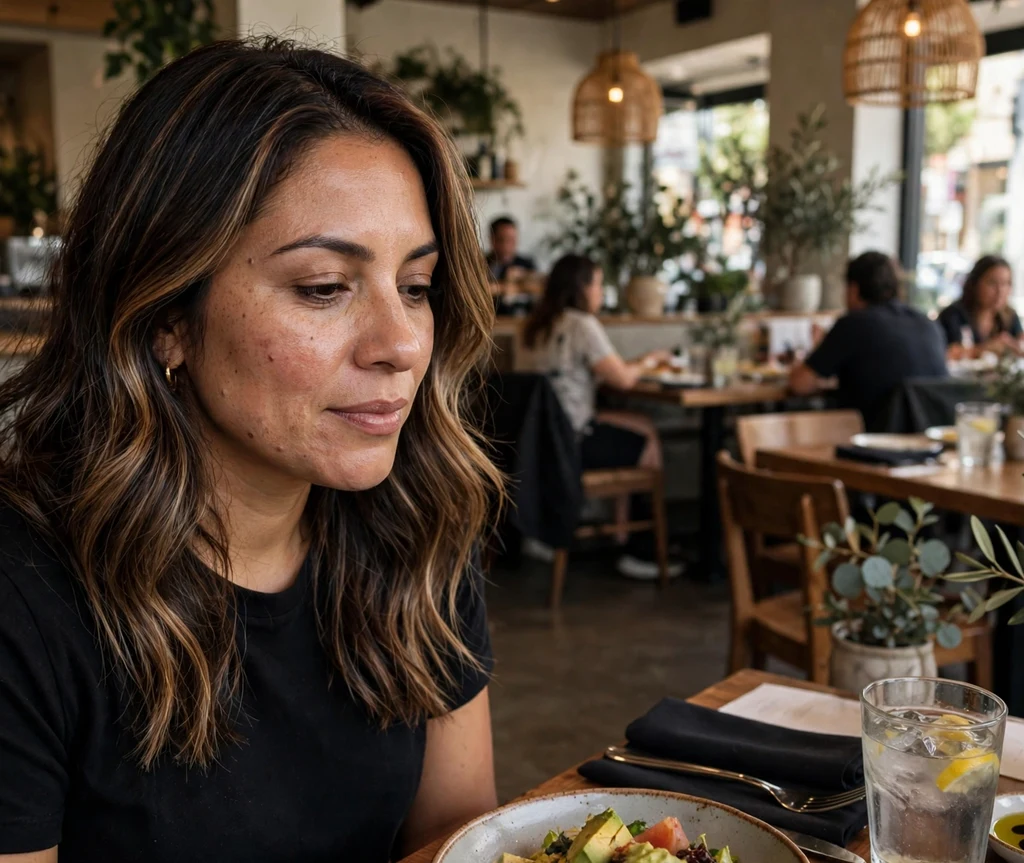
On dark hair, balayage delivers a softer, more natural version of lightness — think caramel ribbons and face-framing brightness rather than a full gradient. It is perfect if you want dimension and movement without committing to dramatically lighter ends.
Balayage is also kinder to dark hair because the colorist can control exactly how much hair gets lightened and where. Less hair processed means less overall damage, and the soft grow-out means you will not be stuck with a harsh line if you decide to stop coloring.
See also: 26 Gorgeous Short Gray Hairstyle Ideas For Every Age And Hair Type
11. Best For Blondes: Ombre
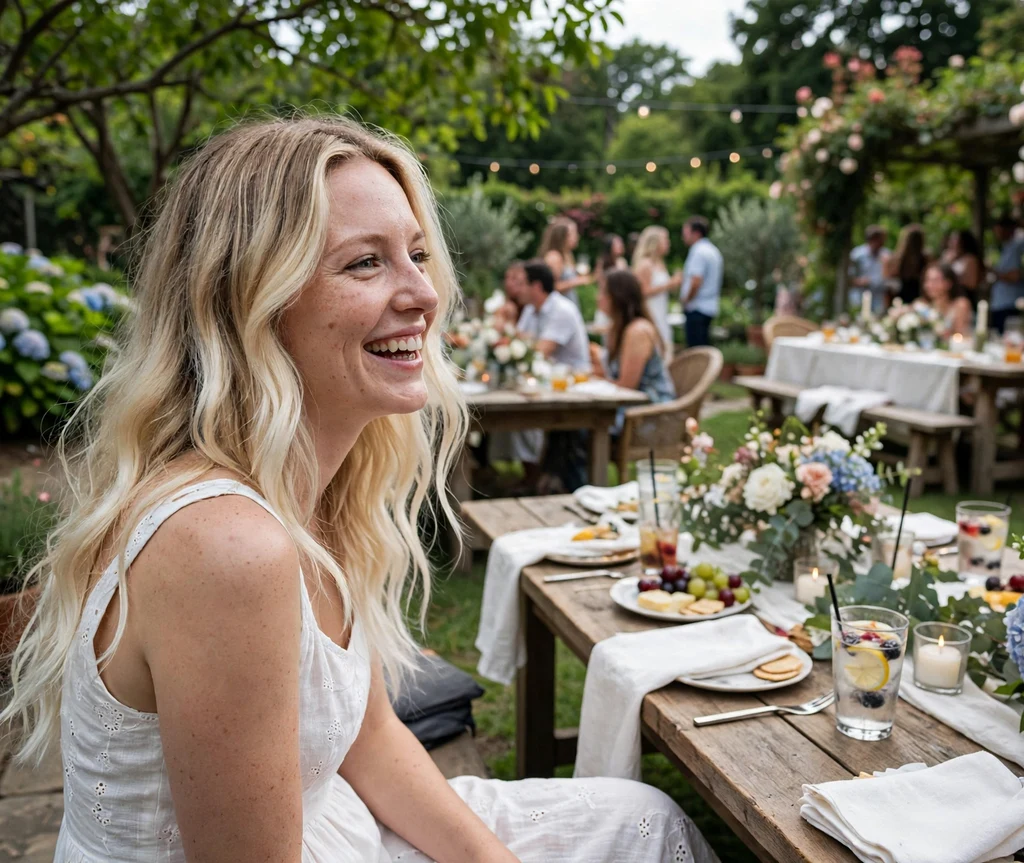
Blondes can wear ombre beautifully by deepening the roots slightly and going brighter toward the ends. A “reverse” approach — your natural blonde melted into platinum or icy ends — adds depth and dimension that all-over blonde sometimes lacks, and it makes regrowth far less obvious.
The key for blondes is the transition: it should be seamless, not stripey. Ask your colorist for a root shadow or melt at the transition point so the gradient flows. A purple shampoo and regular toners will keep the blonde ends bright instead of brassy.
12. Best For Blondes: Balayage
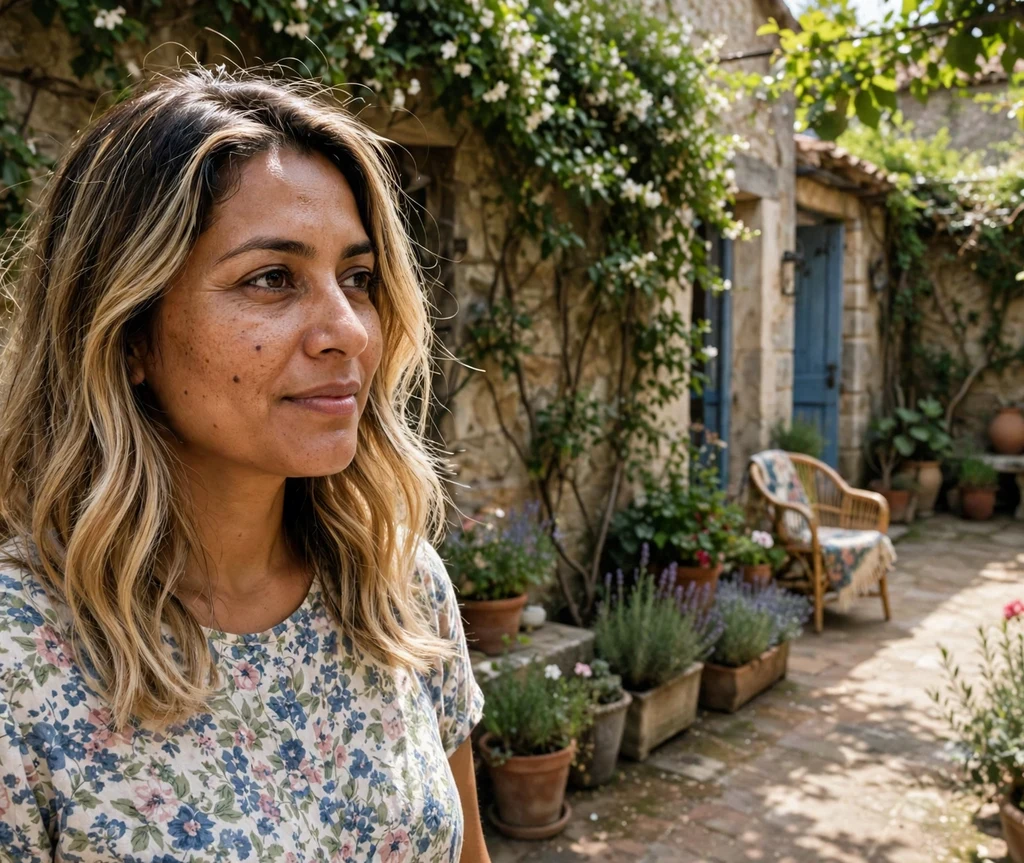
Balayage might just be the perfect blonde technique. Lived-in blonde balayage — with your natural base peeking through between painted pieces — looks dimensional, modern, and effortlessly expensive. It is the reason “expensive blonde” became a whole aesthetic.
Because the pieces are painted rather than foiled to the root, blonde balayage grows out without that dreaded stripe of regrowth. You can stretch appointments to four or six months, touching up only with a toner, which also means less cumulative damage to your blonde.
13. Best For Fine Hair: Ombre
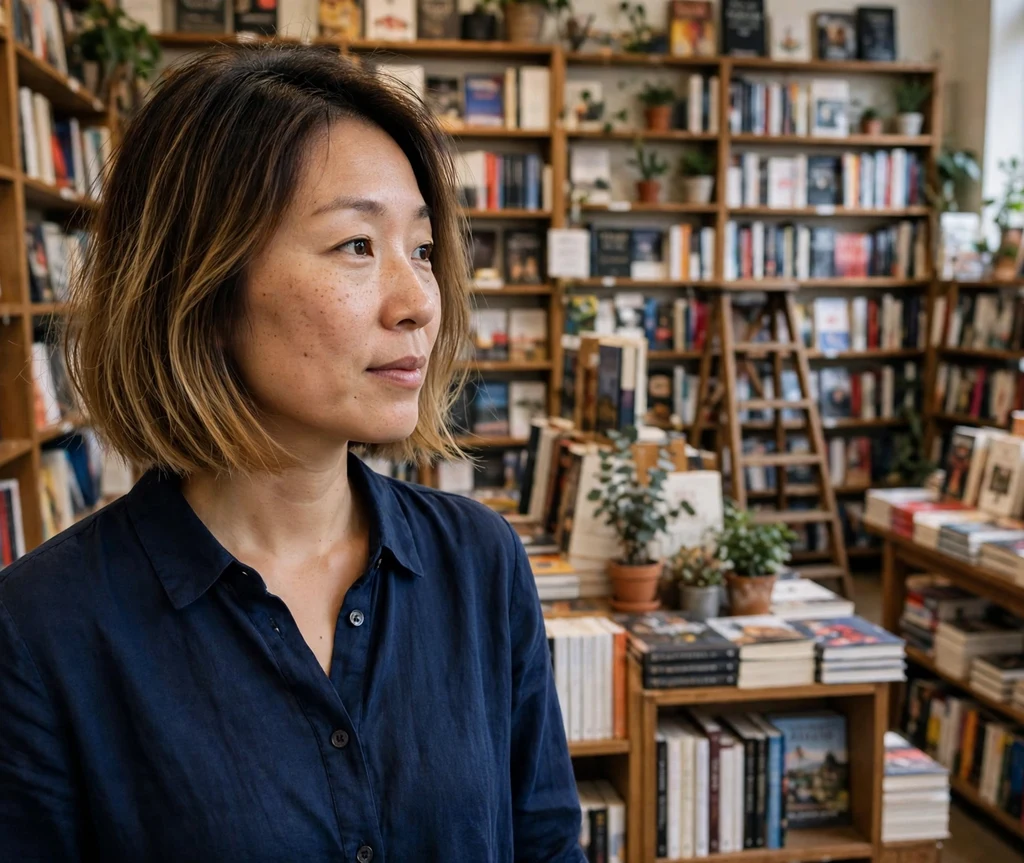
Fine hair can absolutely wear ombre — in fact, the gradient can make ends look thicker because lighter ends draw the eye downward and create the illusion of fullness. The trick is keeping the transition soft and avoiding over-lightening, which can make fine ends look wispy.
Ask your stylist to keep the lightening gentle and to add a blunt or textured cut to support the ends. Fine hair shows damage faster, so bond-building treatments and lightweight (never heavy) conditioning are essential to keep an ombre looking lush.
14. Best For Fine Hair: Balayage
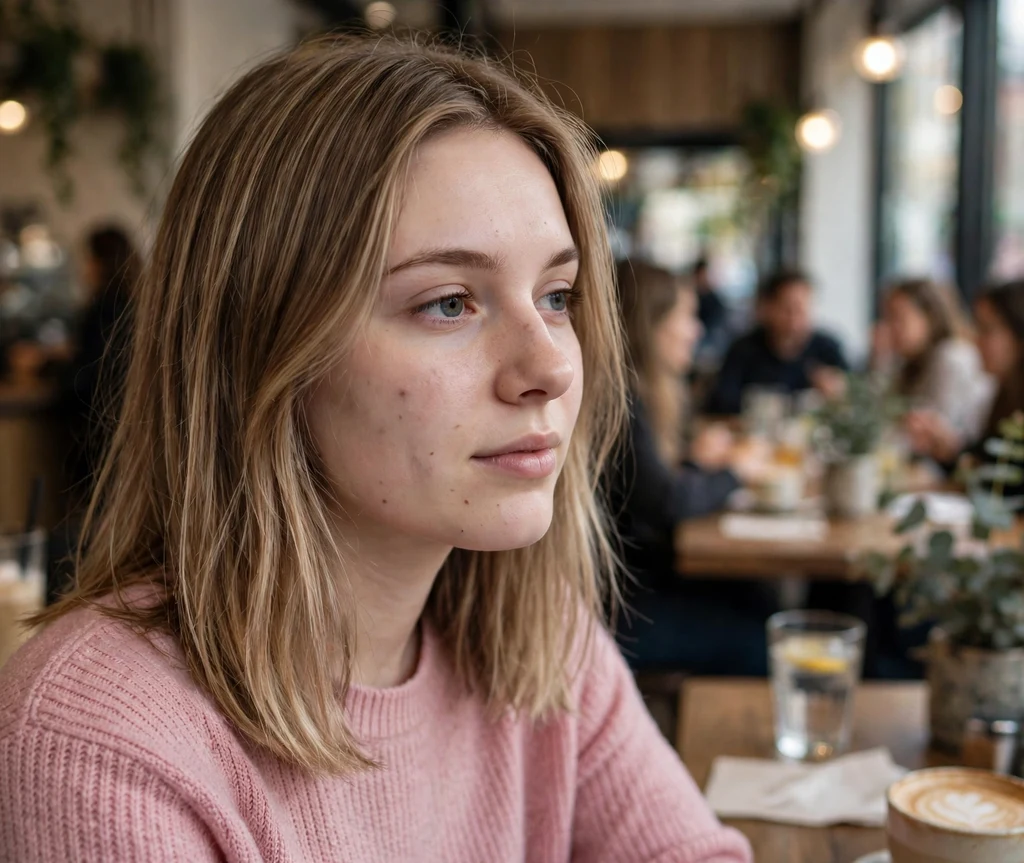
Balayage is a secret weapon for fine hair. Those hand-painted ribbons of lighter color create visual dimension that makes hair look instantly thicker and fuller — it is basically contouring for your hair. The multi-tonal effect adds depth that single-process color simply cannot.
Because balayage processes less hair overall than full highlights or all-over lightening, it is gentler on delicate fine strands. Ask for brightness concentrated around the face and ends, and keep the base close to your natural color for the most natural fullness illusion.
15. Best For Curly Hair: Ombre
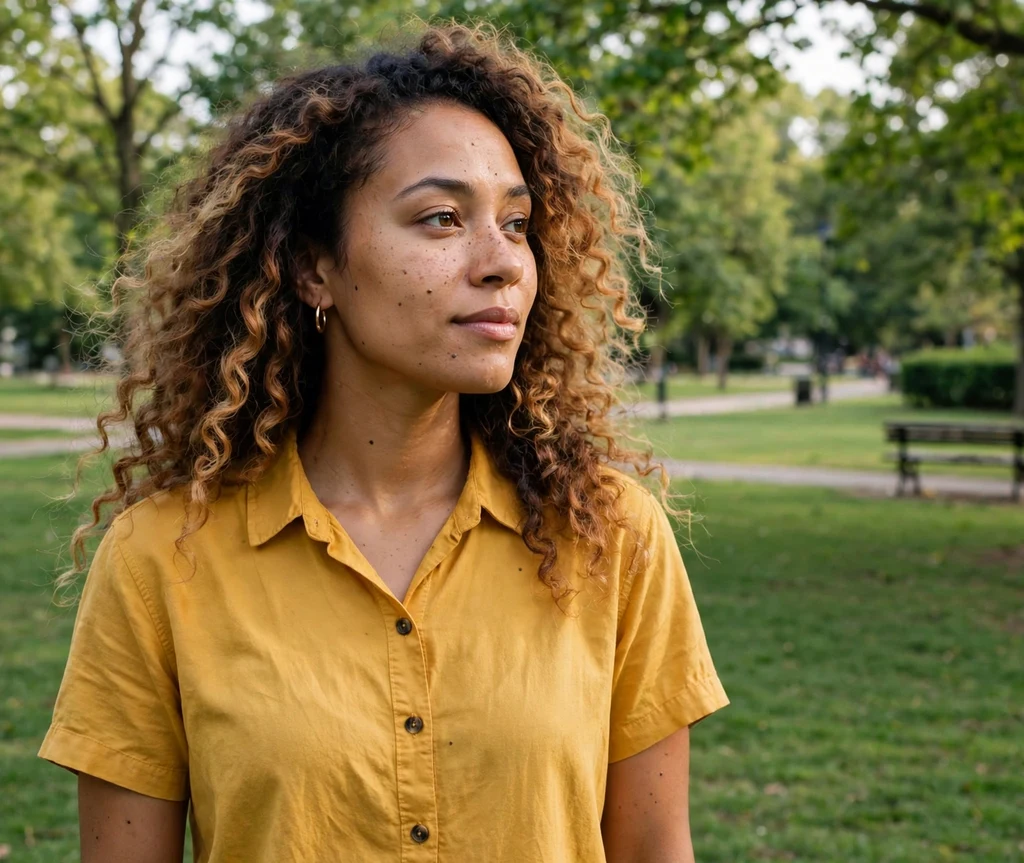
Ombre on curly hair is stunning — the gradient follows the curl pattern, with lighter ends that make every coil pop. Curls naturally diffuse harsh lines, so the transition looks softer and more blended on curly textures than on straight hair.
The main caution is dryness: curly hair is already prone to it, and lightened ends need extra moisture. Deep-condition weekly, use curl-defining creams with hold, and ask your colorist to be conservative with lift. Healthy curls show off an ombre far better than fried ones.
See also: 15 Stunning Short Pixie Hairstyles For Effortless Style
16. Best For Curly Hair: Balayage
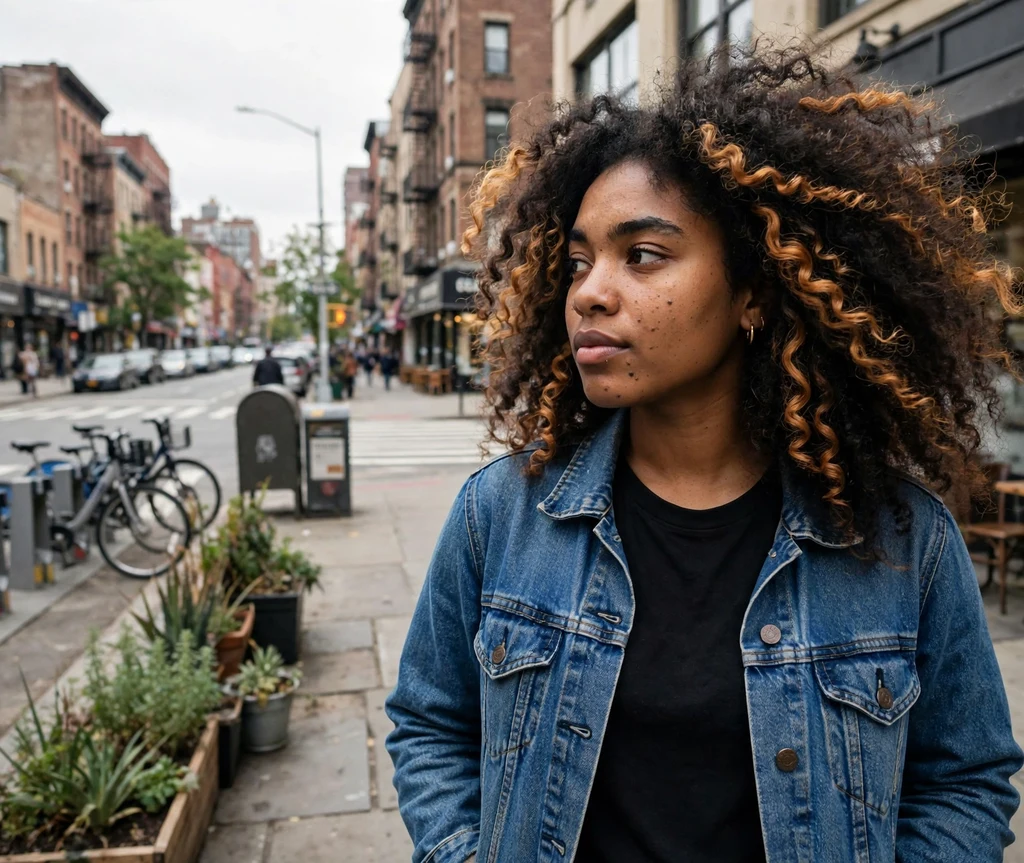
Balayage was practically made for curls. The colorist can paint individual curls where the light naturally hits — the outer canopy, the face-framing pieces, the ends — creating dimension that moves and shines with every bounce. The result looks completely natural, like a summer spent outdoors.
For curly hair, balayage should be done on dry, styled curls so the colorist can see exactly where each piece falls. This dry-painting approach prevents surprises when curls shrink up, and it keeps the placement perfectly tailored to your unique curl pattern.
17. Reverse Ombre Explained
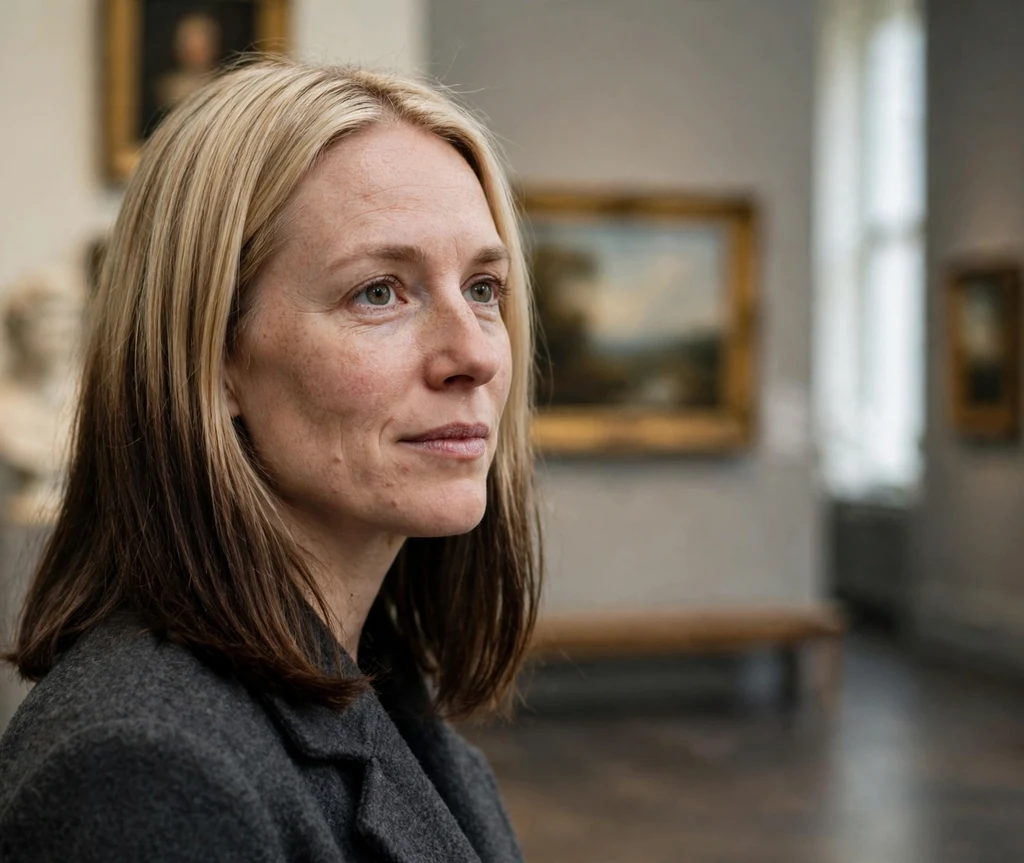
Reverse ombre flips the script: lighter at the roots fading to darker ends. It is edgy, fashion-forward, and definitely a statement — popular with blondes who want dark, moody ends or anyone craving something unconventional.
Fair warning: reverse ombre is higher maintenance than classic ombre, because dark ends show damage and fading more obviously, and the light roots need regular brightening. It is a commitment, but for the right personality, it is unforgettable.
18. Sombre: The Soft Ombre
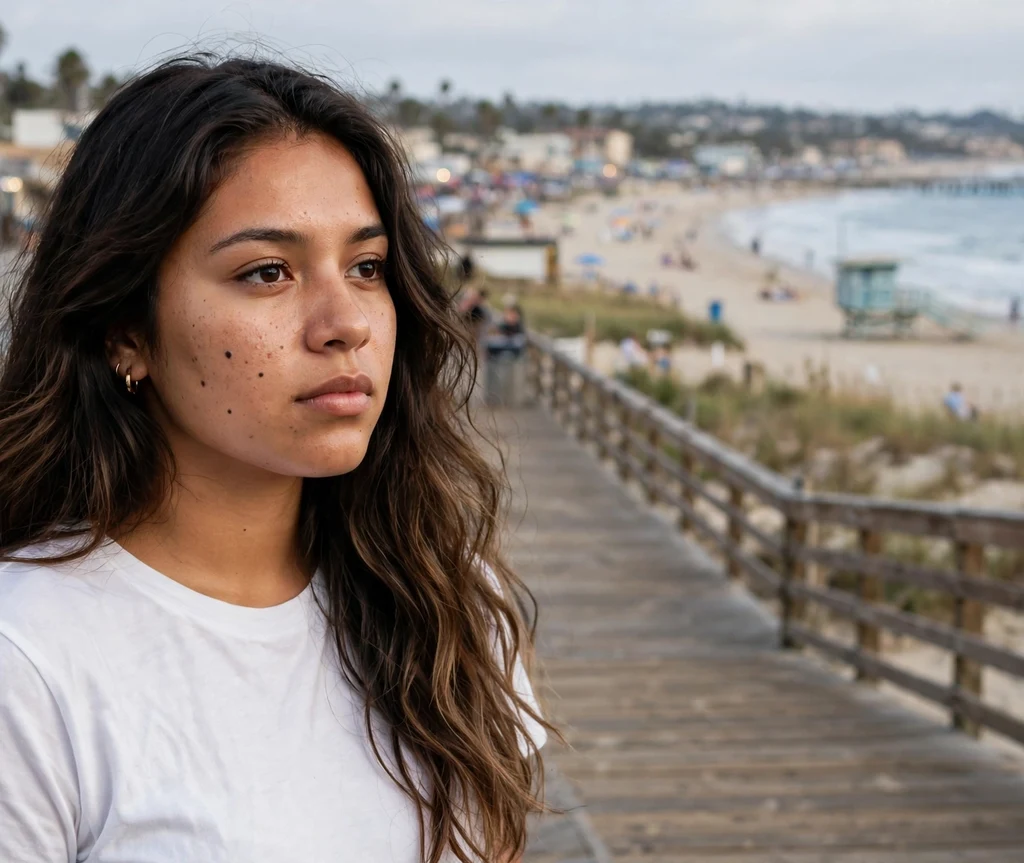
Cannot decide between bold and natural? Meet sombre — “soft ombre.” It is the same gradient concept as ombre but with a much subtler, more blended transition and less contrast between roots and ends, usually just one to two shades of difference.
Sombre is the perfect middle ground if classic ombre feels too dramatic but you still want that gradient effect. It is office-friendly, grows out invisibly, and suits virtually every hair color and skin tone.
19. Foilayage: Balayage’s Brighter Cousin
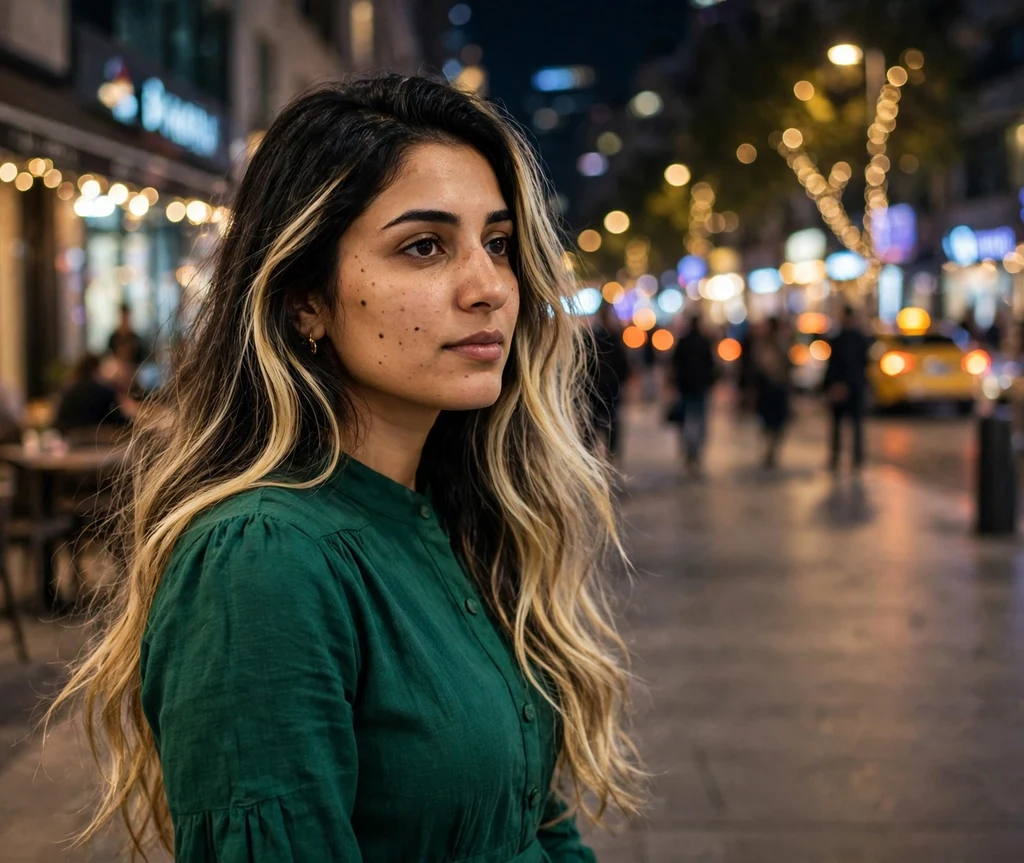
Foilayage combines balayage painting with foil processing: the colorist paints like balayage, then wraps the sections in foils for extra lift. The result is balayage’s soft, dimensional placement with noticeably brighter, blonder pieces — the best of both worlds.
Choose foilayage if you love the balayage look but want more brightness than traditional open-air painting can achieve, especially on dark hair. It costs a bit more and takes a bit longer, but the brightness payoff is significant.
20. Shadow Root And Root Melt
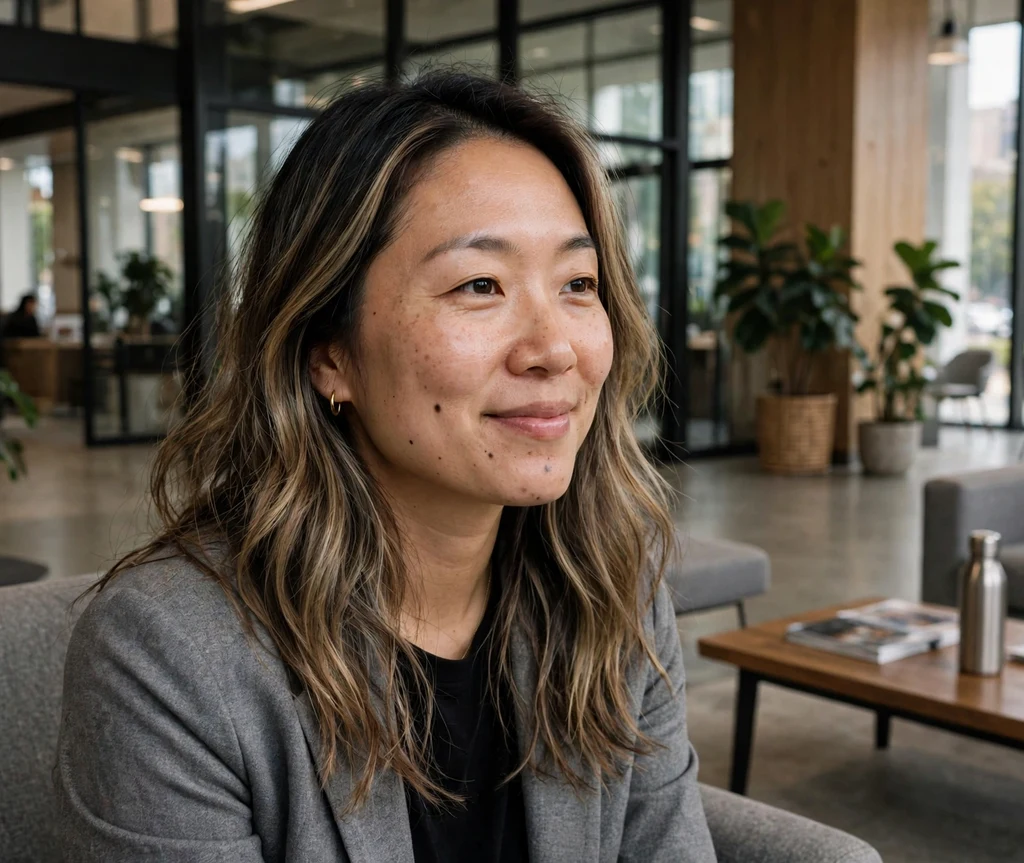
A shadow root (or root melt) is a technique often paired with balayage where a shade close to your natural color is blended down from the roots, softening the transition into the lighter lengths. It erases any hint of a harsh line and makes grow-out completely seamless.
This add-on is worth every penny if you are going significantly lighter. A root melt buys you months of graceful grow-out and makes the whole color look more expensive and intentional. Ask for it by name at your appointment.
See also: 35 Gorgeous Long Hairstyle Ideas For Every Length Lover
21. Ombre On Short Hair
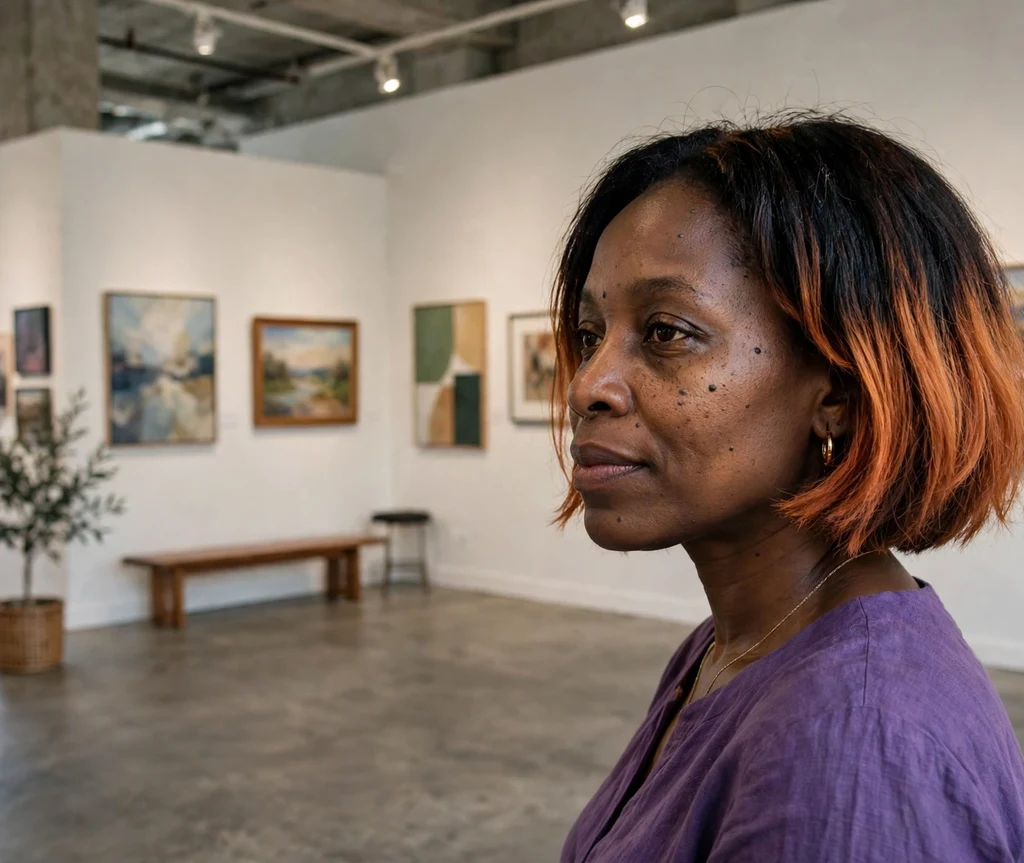
Ombre is not just for long hair — on a bob or lob, it creates a bold, graphic statement. The shorter length means the gradient happens faster, so the contrast reads stronger and edgier. It is a fantastic way to make a short cut feel fresh and modern.
On short hair, placement matters more: the transition should start higher than you think so the lighter ends actually show. Work with a colorist experienced in short-hair color, and keep the ends healthy with regular trims — there is nowhere for damage to hide on a bob.
22. Balayage On Short Hair
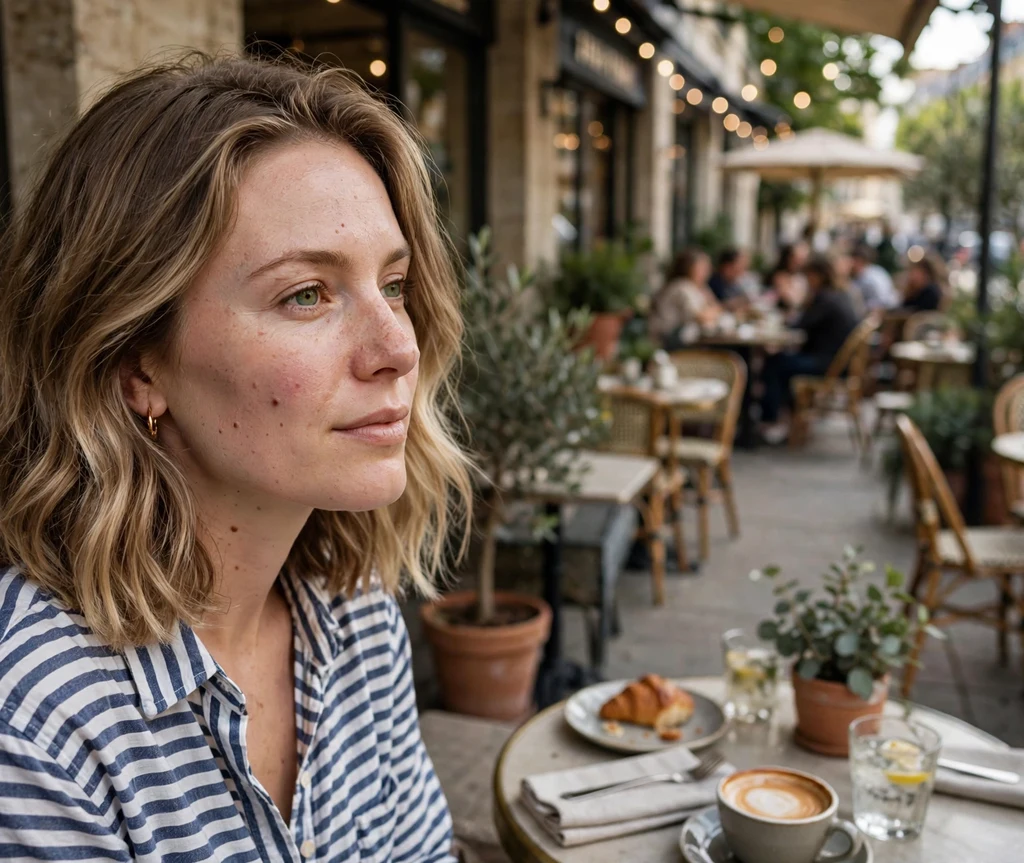
Balayage on short hair — lobs, bobs, even pixies — adds gorgeous dimension that makes the cut look thicker and more textured. On a lob, painted pieces catch the light with every movement, giving the style life and depth.
The colorist will concentrate brightness on the pieces that frame your face and the ends that flip and move. Because there is less hair, the appointment is quicker and often cheaper — a great entry point if you want to try balayage for the first time.
23. Ombre With Bangs
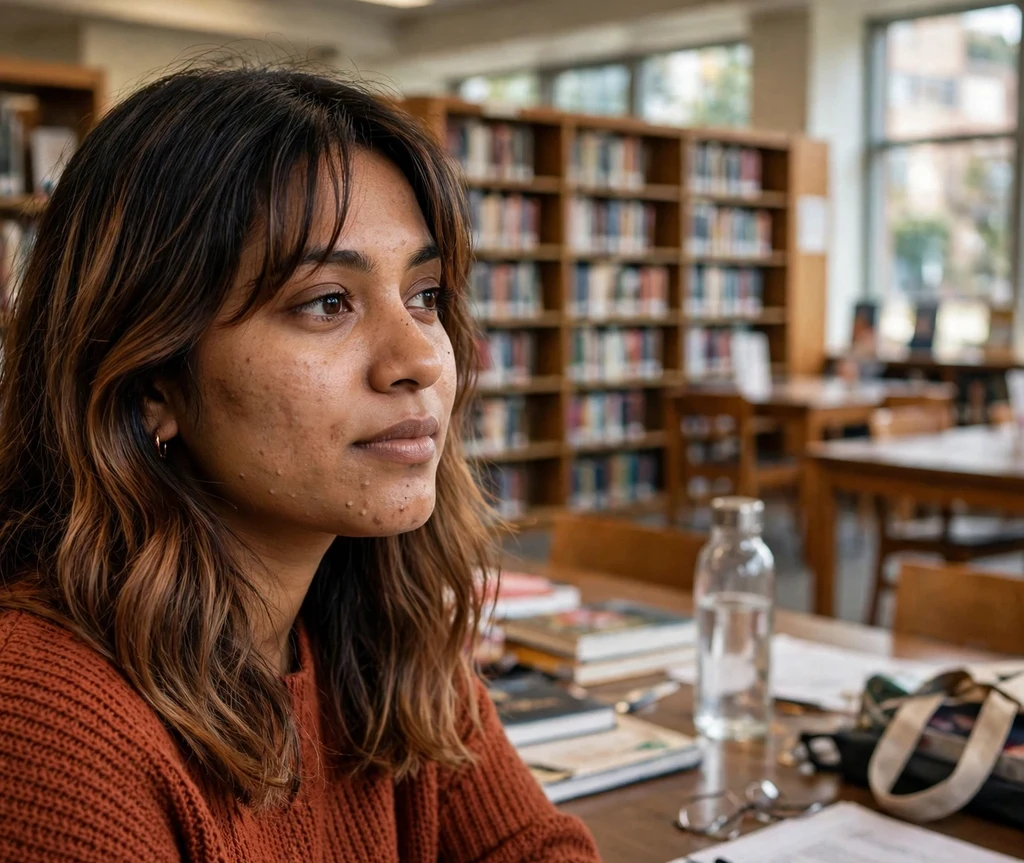
Bangs and ombre are a beautiful pairing, but the bangs themselves should usually stay close to your root color — lightening fringe can look harsh and draws attention to regrowth. Keep the gradient in the lengths and let the bangs anchor the look.
Curtain bangs work especially well with ombre because they blend into the face-framing gradient. If you want brightness around the face, ask for a few soft balayage pieces through the bangs instead of a full ombre on them.
24. Balayage With Bangs
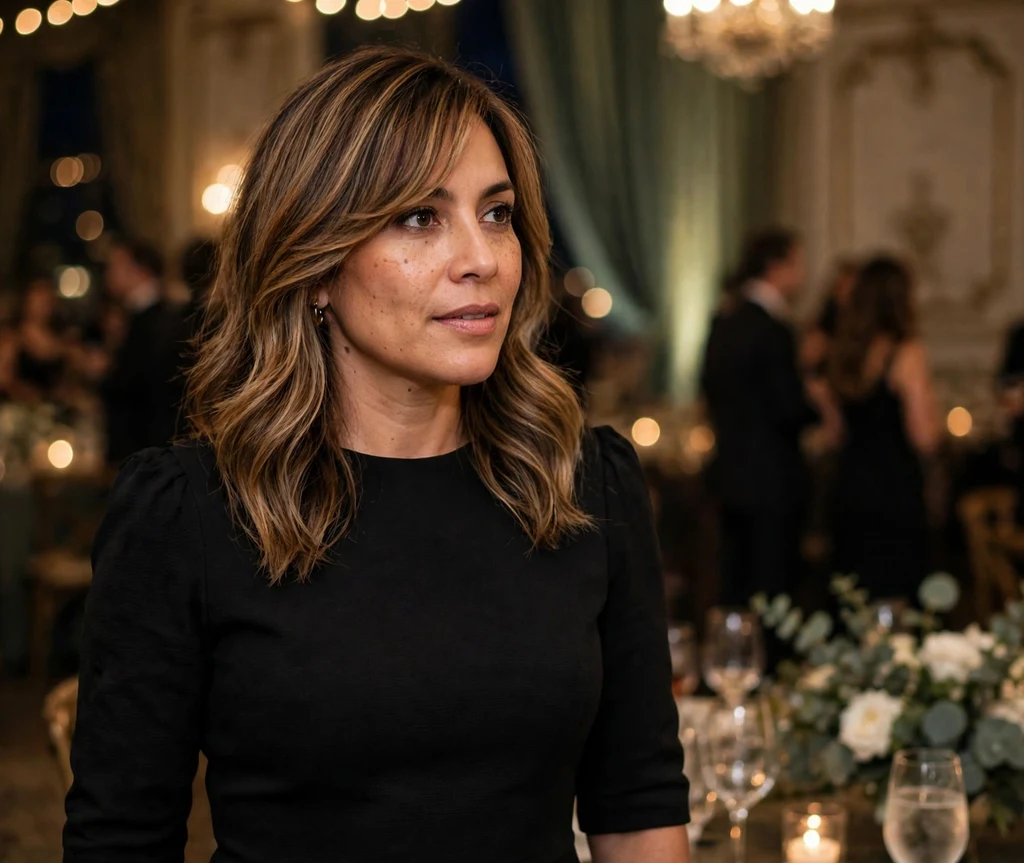
Balayage loves bangs — the colorist can paint a few delicate pieces right through the fringe for brightness exactly where it flatters most. It is subtle, face-brightening, and grows out without any awkward stage.
The key is restraint: too much lightness in the bangs can look stripey. Ask for just a whisper of brightness through the fringe, concentrated at the very ends, so it reads as sun-kissed rather than highlighted.
25. Vivid And Fashion Ombre
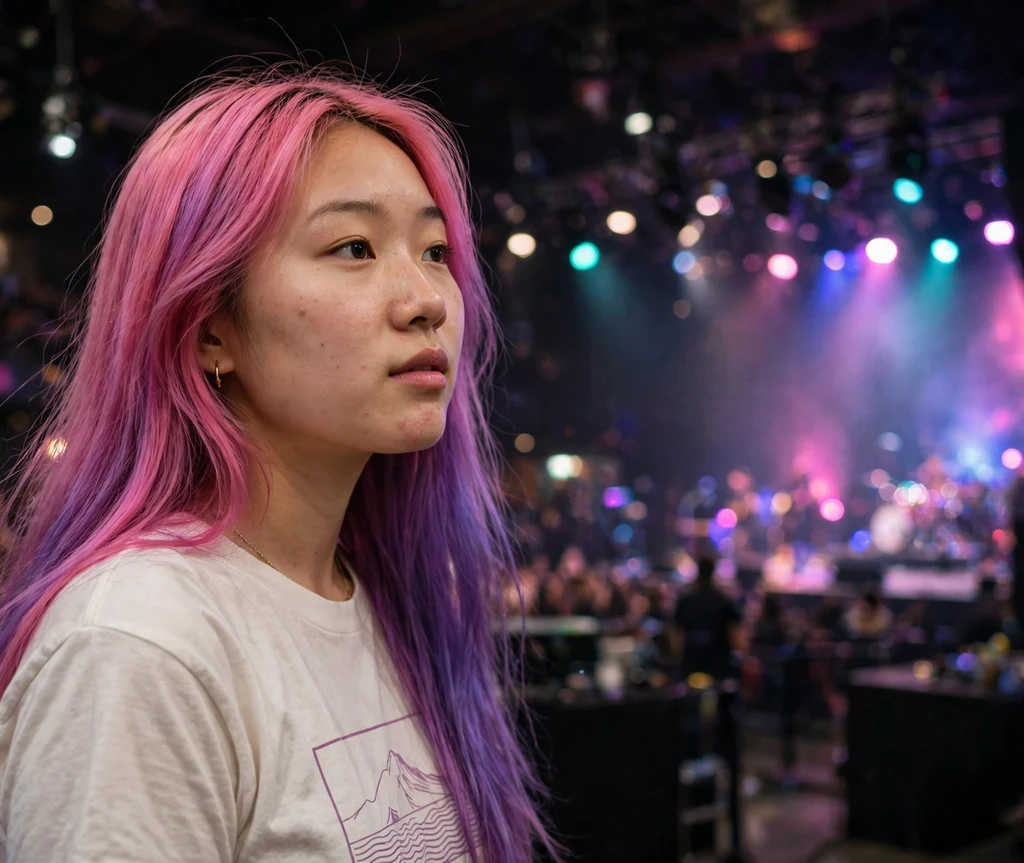
Ombre is the ideal canvas for fashion colors. A dark base melting into vivid pink, purple, blue, or teal ends is bold, artistic, and surprisingly wearable — the dark roots keep it grounded while the vivid ends do all the talking.
Fashion colors fade fastest, so expect to refresh the ends every four to six weeks with a color-depositing conditioner or gloss. Keep the hair healthy underneath, because vivid color shows damage mercilessly — bond builders and sulfate-free care are non-negotiable.
See also: 18 Easy Long Curly Hairstyles For A Gorgeous Look For Busy Mornings
26. Copper And Red Balayage
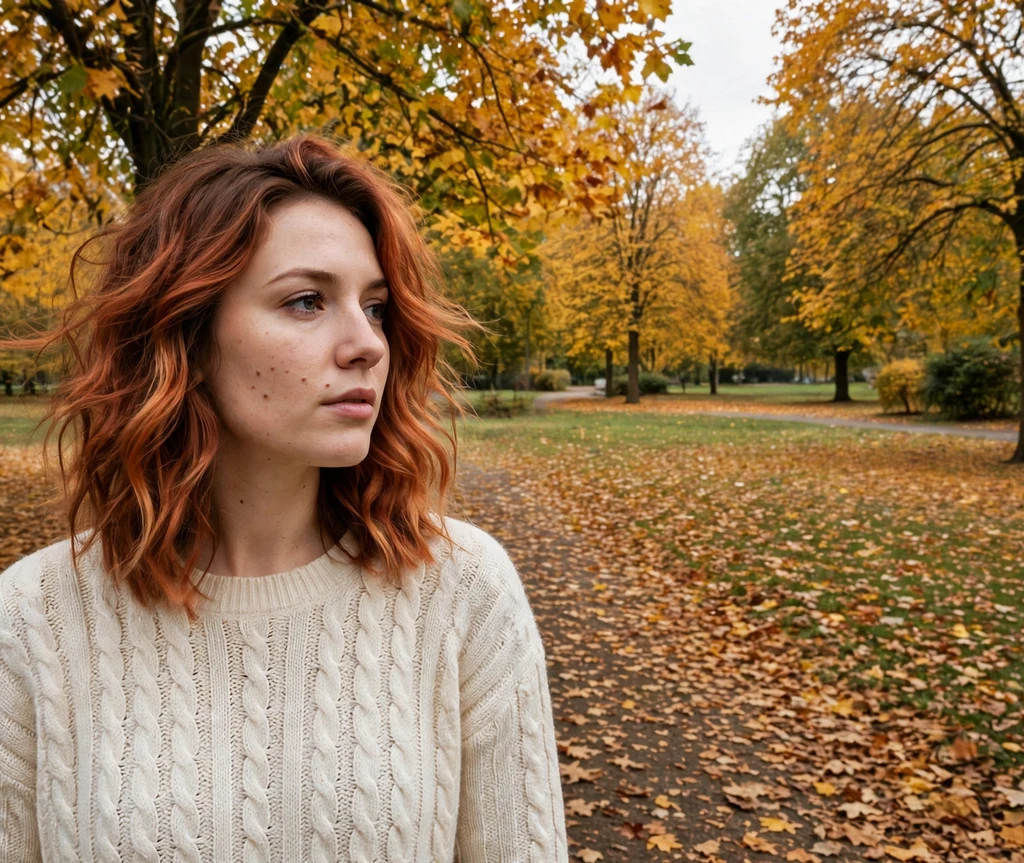
Balayage is stunning in warm tones — copper, auburn, and rich red ribbons painted through a brunette base create incredible dimension and warmth. It is a gorgeous way to try red without the full commitment of all-over color.
Red tones fade faster than any other color, so plan on a gloss refresh every six to eight weeks and wash with cool water and color-safe products. The payoff is hair that glows — copper balayage catches light like nothing else.
27. Blending Grays With Ombre
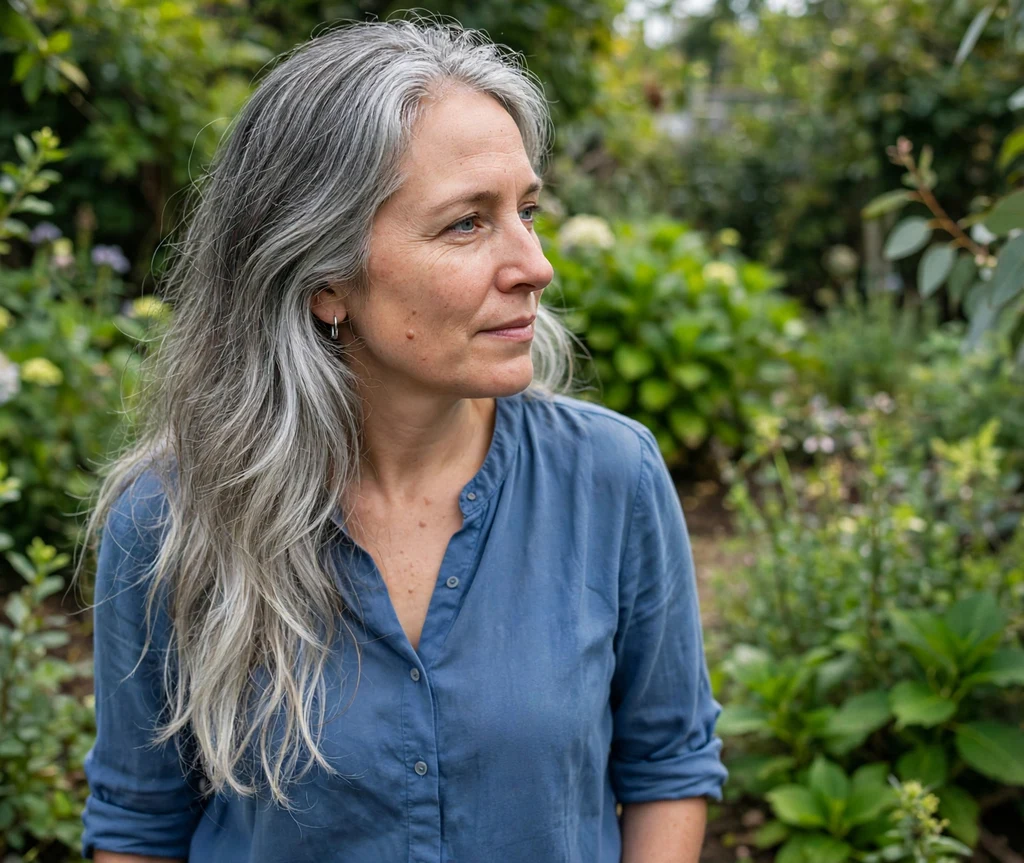
Growing out gray? An ombre can be a brilliant transition strategy. Your colorist can blend your dyed lengths into your natural gray or silver, creating an intentional gradient that makes the grow-out phase look deliberate instead of neglected.
This works best with the help of a professional who can tone the line of demarcation. The goal is a soft, smoky blend — not a harsh stripe. Once fully grown out, many people discover they love their silver and never look back.
28. Blending Grays With Balayage
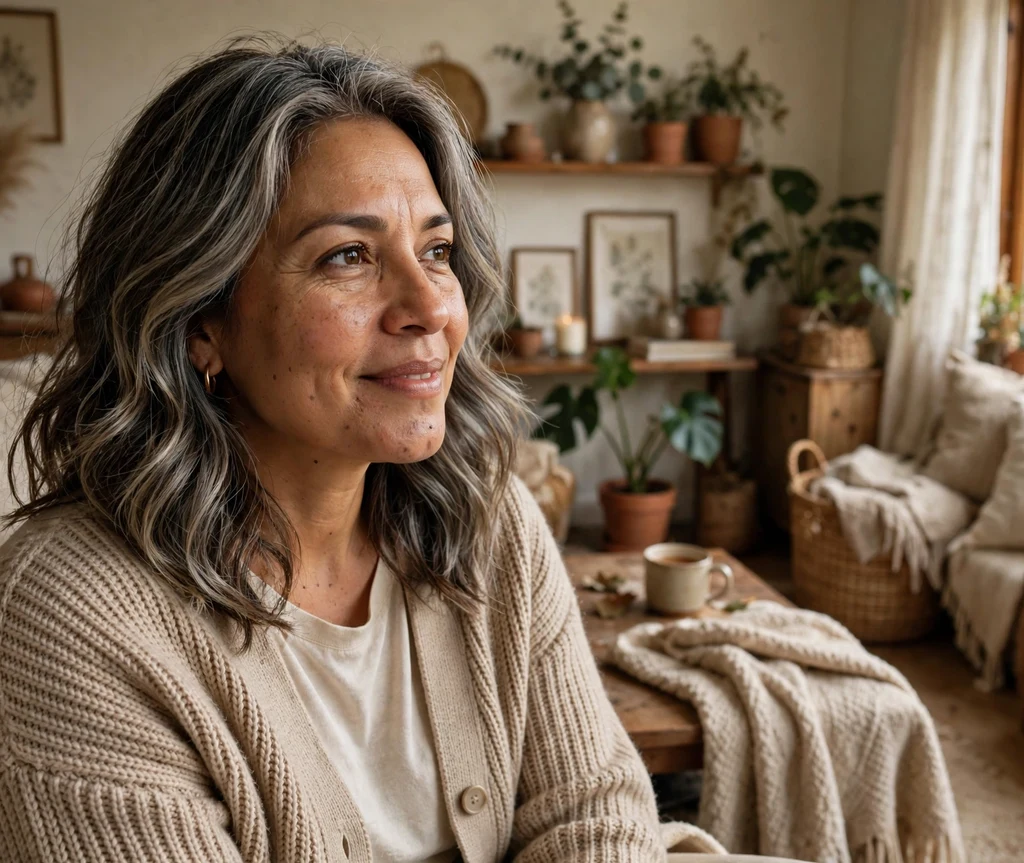
Balayage is arguably the best technique for blending gray hair. Fine, hand-painted highlights woven through gray regrowth camouflage it completely — no harsh root line, no obvious grow-out, just soft, dimensional color that buys you weeks between appointments.
Ask for “gray blending” specifically: your colorist will match highlights to your gray pattern so regrowth disappears into the dimension. Many clients stretch to ten or twelve weeks between visits, making it both beautiful and practical.
29. DIY Ombre At Home
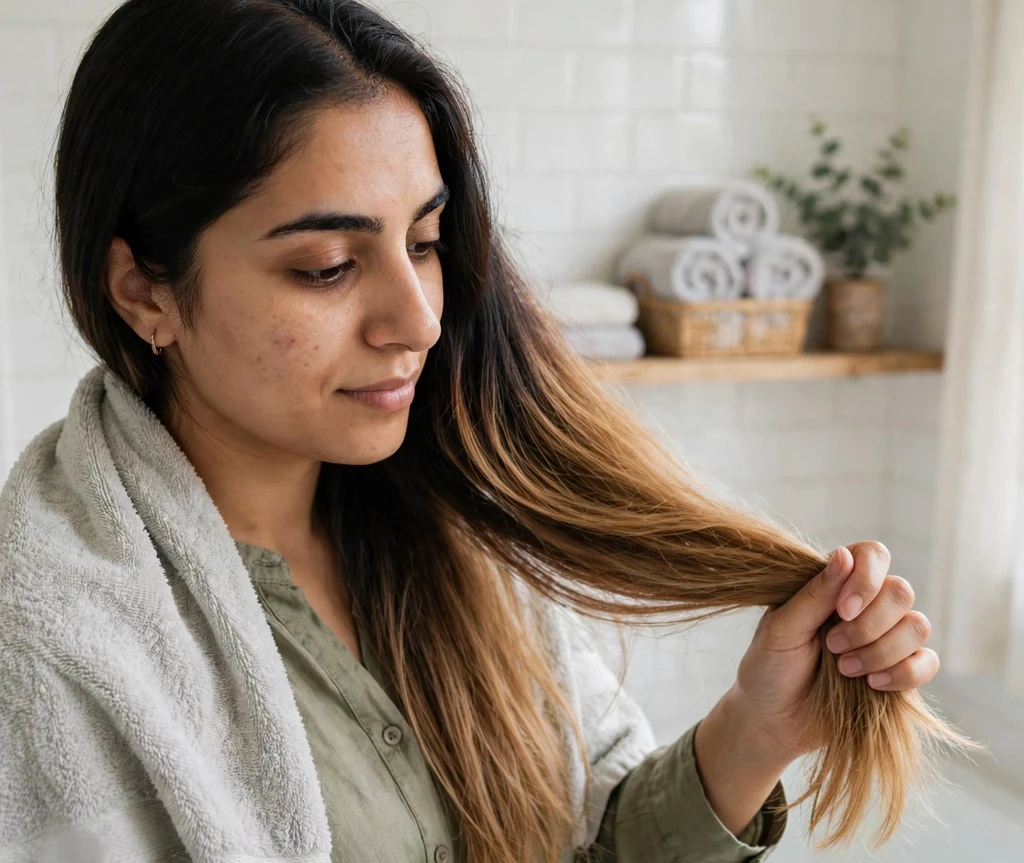
Ombre is the more DIY-friendly of the two. Box ombre kits exist for a reason: the technique — apply lightener to the lower half, blend upward — is relatively forgiving, especially on longer hair where mistakes are less visible.
That said, going more than two shades lighter at home risks brassiness and breakage. Do a strand test first, do not overlap lightener on previously lightened hair, and have a toner ready. When in doubt, leave major color corrections to a professional.
30. DIY Balayage At Home
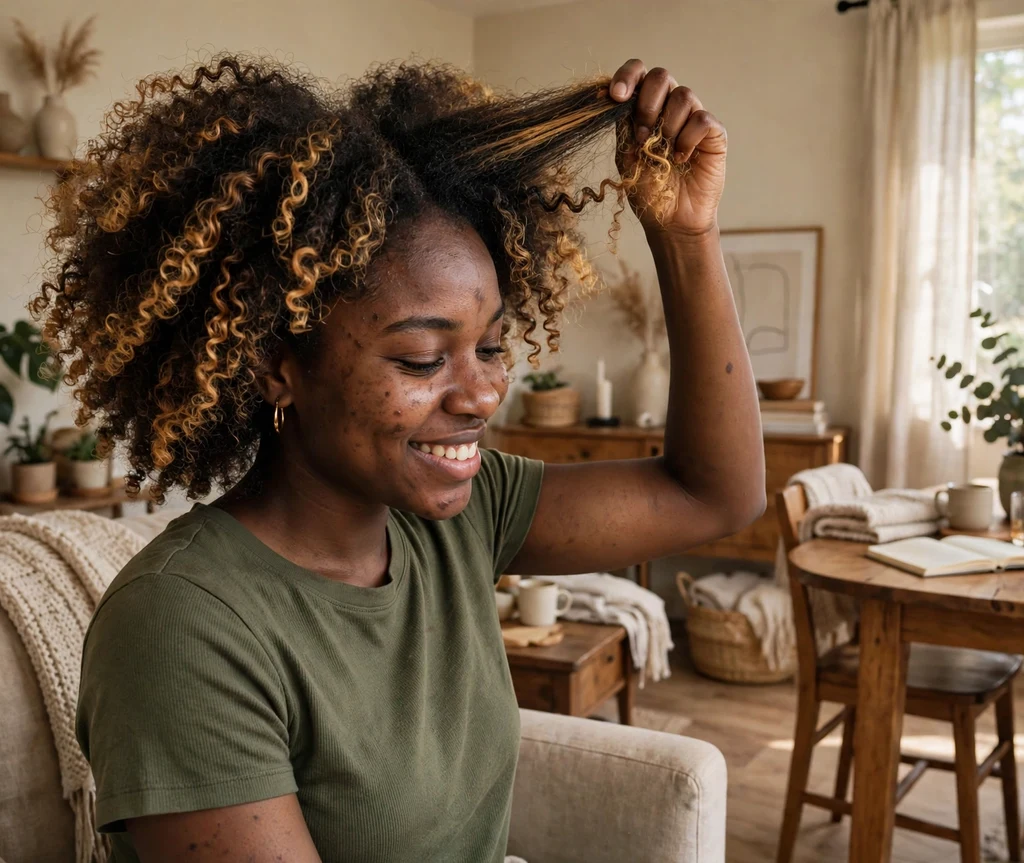
True balayage is genuinely hard to DIY — it requires painting the back of your own head freehand with professional judgment about placement and saturation. At-home “balayage” kits usually produce something closer to chunky highlights than real balayage.
If you want to try, stick to subtle: use a balayage kit one shade lighter than your base, focus only on face-framing pieces you can see in the mirror, and keep expectations modest. For the real dimensional effect, a salon visit is worth saving for.
See also: 35 Sleek Hairstyles For A Polished, Modern Look
31. Damage And Hair Health: Ombre
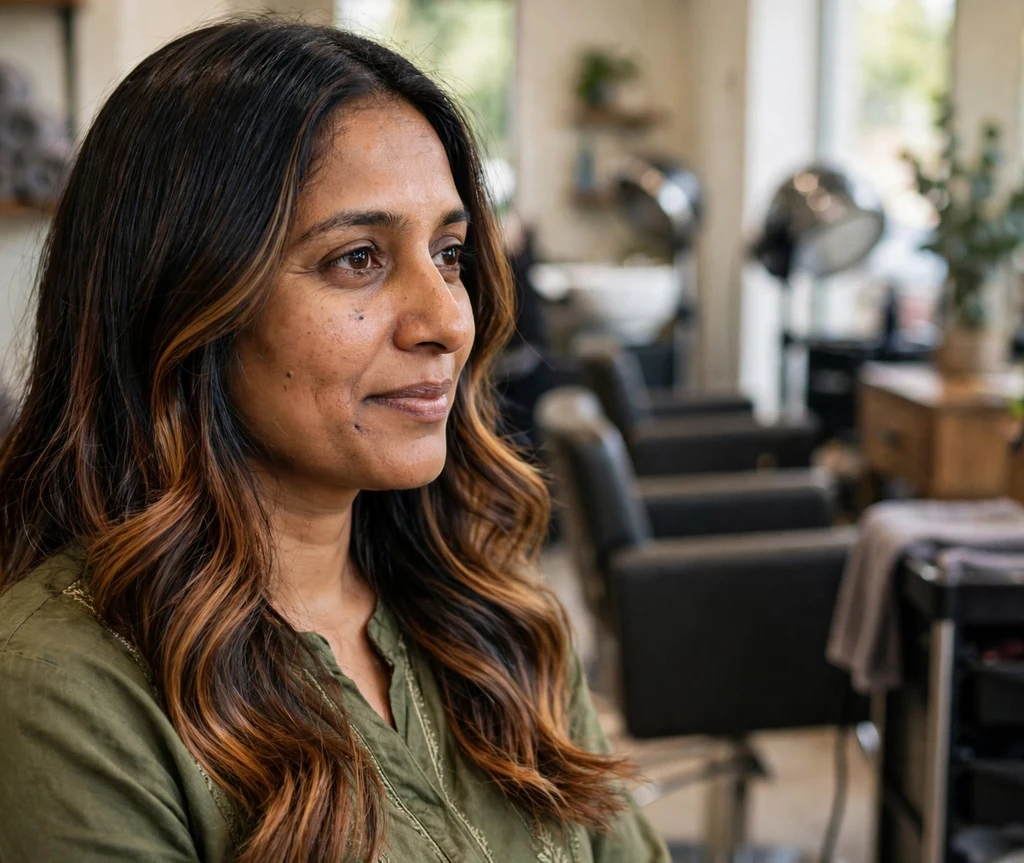
Any lightening causes some damage, and ombre concentrates it on the ends — the oldest, most fragile part of your hair. The good news: since roots are untouched, the damage is limited to the lengths, and regular trims remove the worst of it over time.
Protect your ombre with bond-building treatments during the lightening service, weekly masks at home, heat protectant every time you style, and trims every eight weeks. Healthy ends make the gradient look expensive; fried ends make it look tired.
32. Damage And Hair Health: Balayage
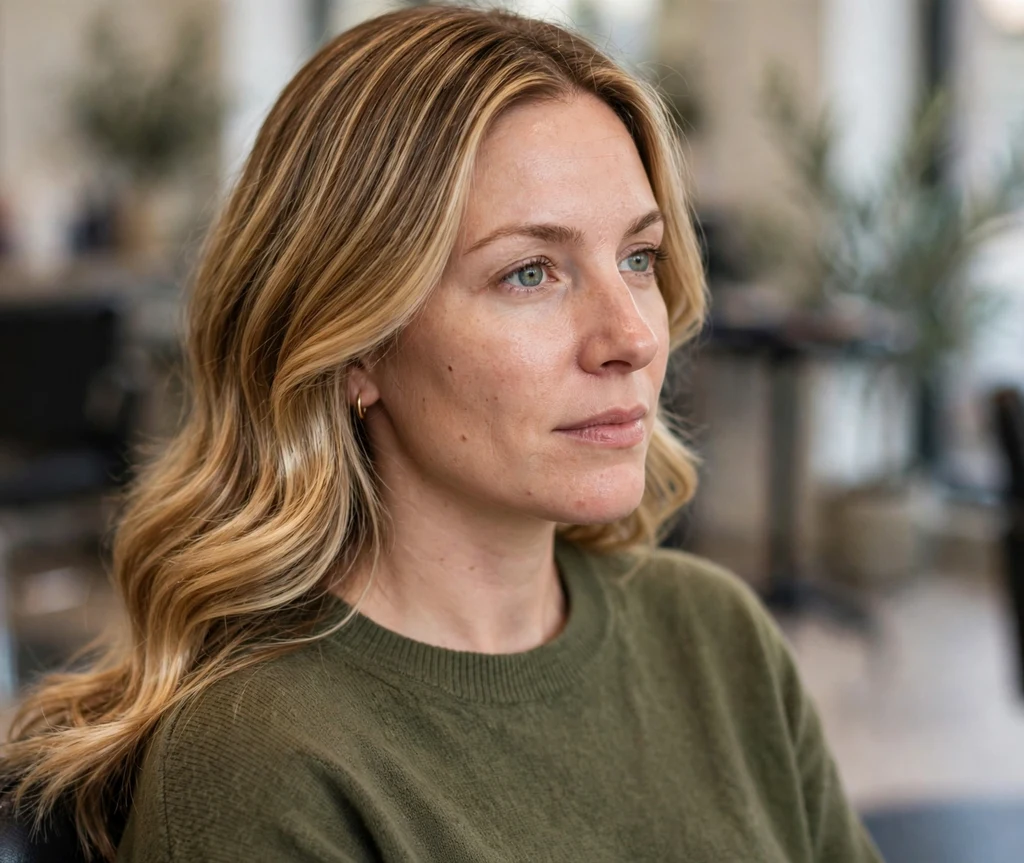
Balayage is generally gentler than traditional highlighting because less hair is processed and the lightener is often open-air (lower volume developer, more gradual lift). The painted placement also means damage is distributed rather than concentrated.
Still, lightened hair is lightened hair: it needs moisture, protein balance, and heat protection. A gloss treatment after every balayage service seals the cuticle, adds shine, and keeps the tone fresh — never skip it.
33. How Long Does Ombre Last?
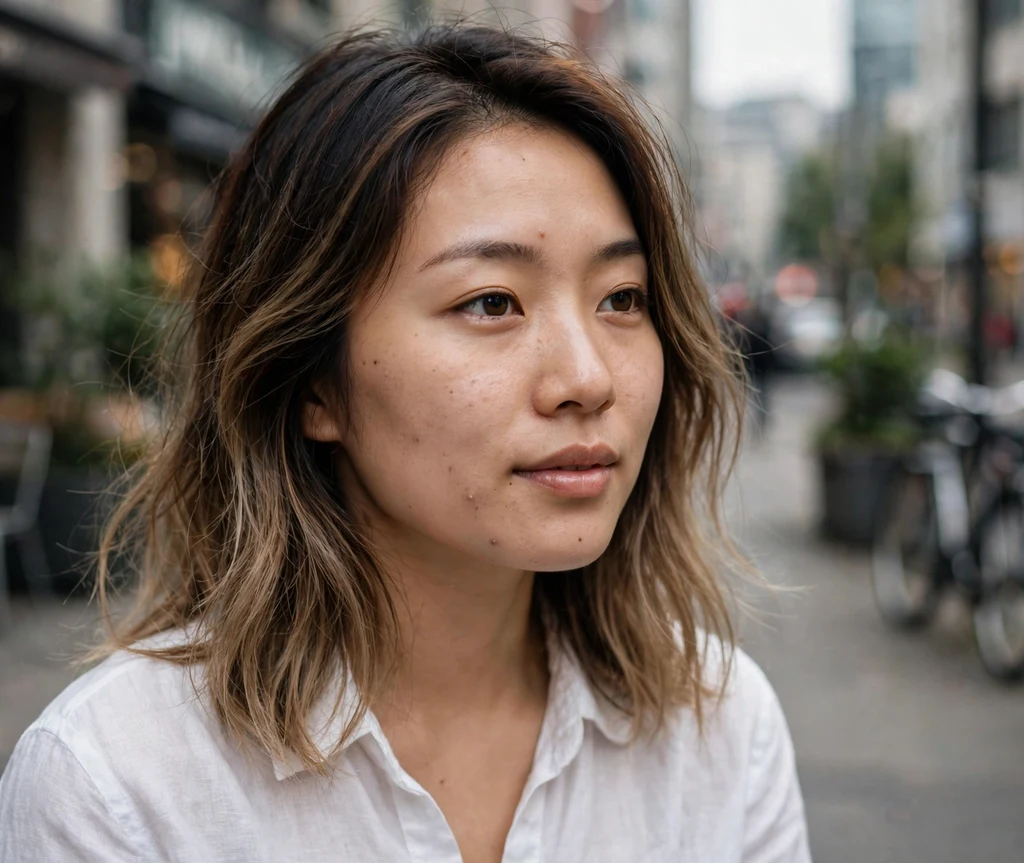
A well-done ombre can look good for four to six months or even longer. As your hair grows, the gradient simply travels downward — the look evolves rather than falling apart. You will mainly want a refresh when the ends start looking dull or brassy.
Tone refreshes every eight to twelve weeks keep the color vibrant between full applications. And because the roots are your natural color, you will never have that panicked “I need my roots done” moment that all-over color creates.
34. How Long Does Balayage Last?
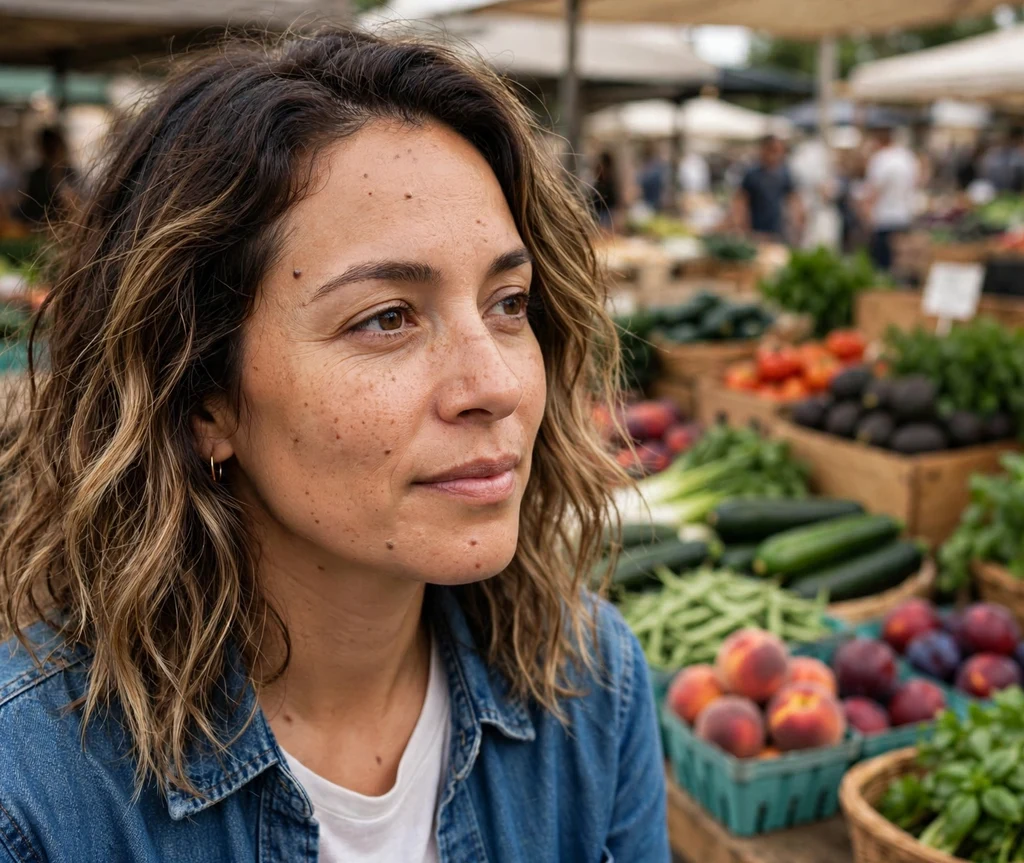
Balayage is the longest-lasting color technique in the salon, routinely looking fresh for four to six months and often stretching to eight or more. The soft, diffused regrowth means there is never an obvious line telling the world you are overdue.
Most balayage wearers maintain with just a toner or gloss every two to three months, saving full applications for once or twice a year. It is the ultimate set-it-and-forget-it color — which is exactly why it costs more upfront.
35. Which One Should You Choose?
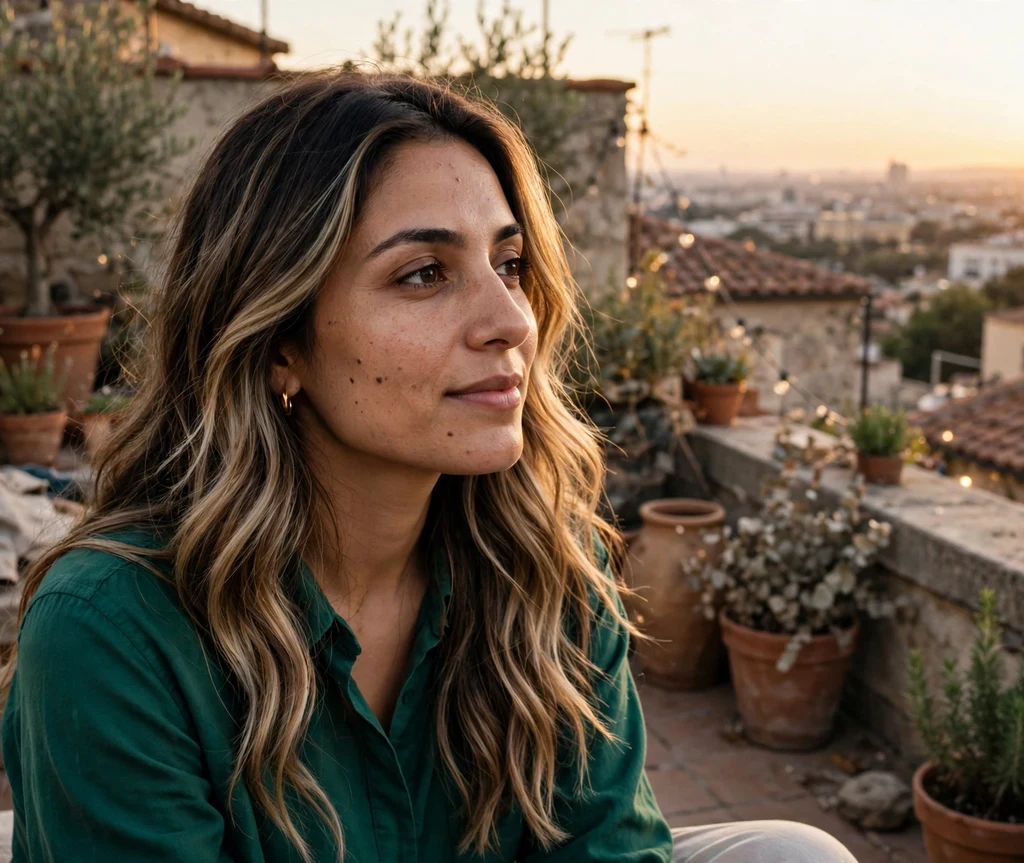
Still torn? Here is the simplest way to decide: choose ombre if you want a bold, noticeable gradient with dramatic contrast and you are okay with slightly more visible grow-out. Choose balayage if you want soft, natural-looking dimension with the most graceful grow-out and the lowest maintenance.
And here is a secret: you do not strictly have to choose. Many colorists now blend both — an ombre-style gradient at the ends with balayage-painted dimension through the mid-lengths. Bring reference photos of exactly what you love, and let your stylist design a hybrid made for your hair.
How To Choose Between Ombre And Balayage
Start with your lifestyle. If you want the lowest possible maintenance and the most natural grow-out, balayage wins — you will visit the salon less and spend less over the year despite the higher upfront cost. If you want maximum drama and contrast for minimum initial spend, ombre is your technique.
Then consider your hair’s condition and your color history. Previously colored, fragile, or very dark hair needs a careful consultation either way — sometimes the dream shade takes two sessions to achieve safely. Bring photos, be honest about your budget and your at-home routine, and trust a colorist who explains the process instead of rushing you into the chair.
Conclusion
Ombre and balayage are both beautiful, but they serve different dreams. Ombre is the bold gradient — striking, graphic, and transformative. Balayage is the artist’s touch — soft, dimensional, and effortlessly natural. Neither is universally better; the right choice is the one that fits your hair, your budget, and your life.
Save this guide, collect reference photos of the exact finish you want, and book a consultation with a colorist you trust. Whether you walk out with a dramatic ombre melt or sun-kissed balayage ribbons, you will walk out knowing you chose the right technique — and that confidence is the best accessory of all.